“Organizing is what you do before you do something, so that when you do it, it’s not all mixed up.” - A. A. Milne
I love our arts and crafts area in the laundry room. It’s right off the dinning room where we paint, glue, and cut. Lately we’ve been enjoying the fresh air while we complete our projects, which is still within arms reach of the craft room. As our supplies ebb and flow, I've rearranged this space several times.
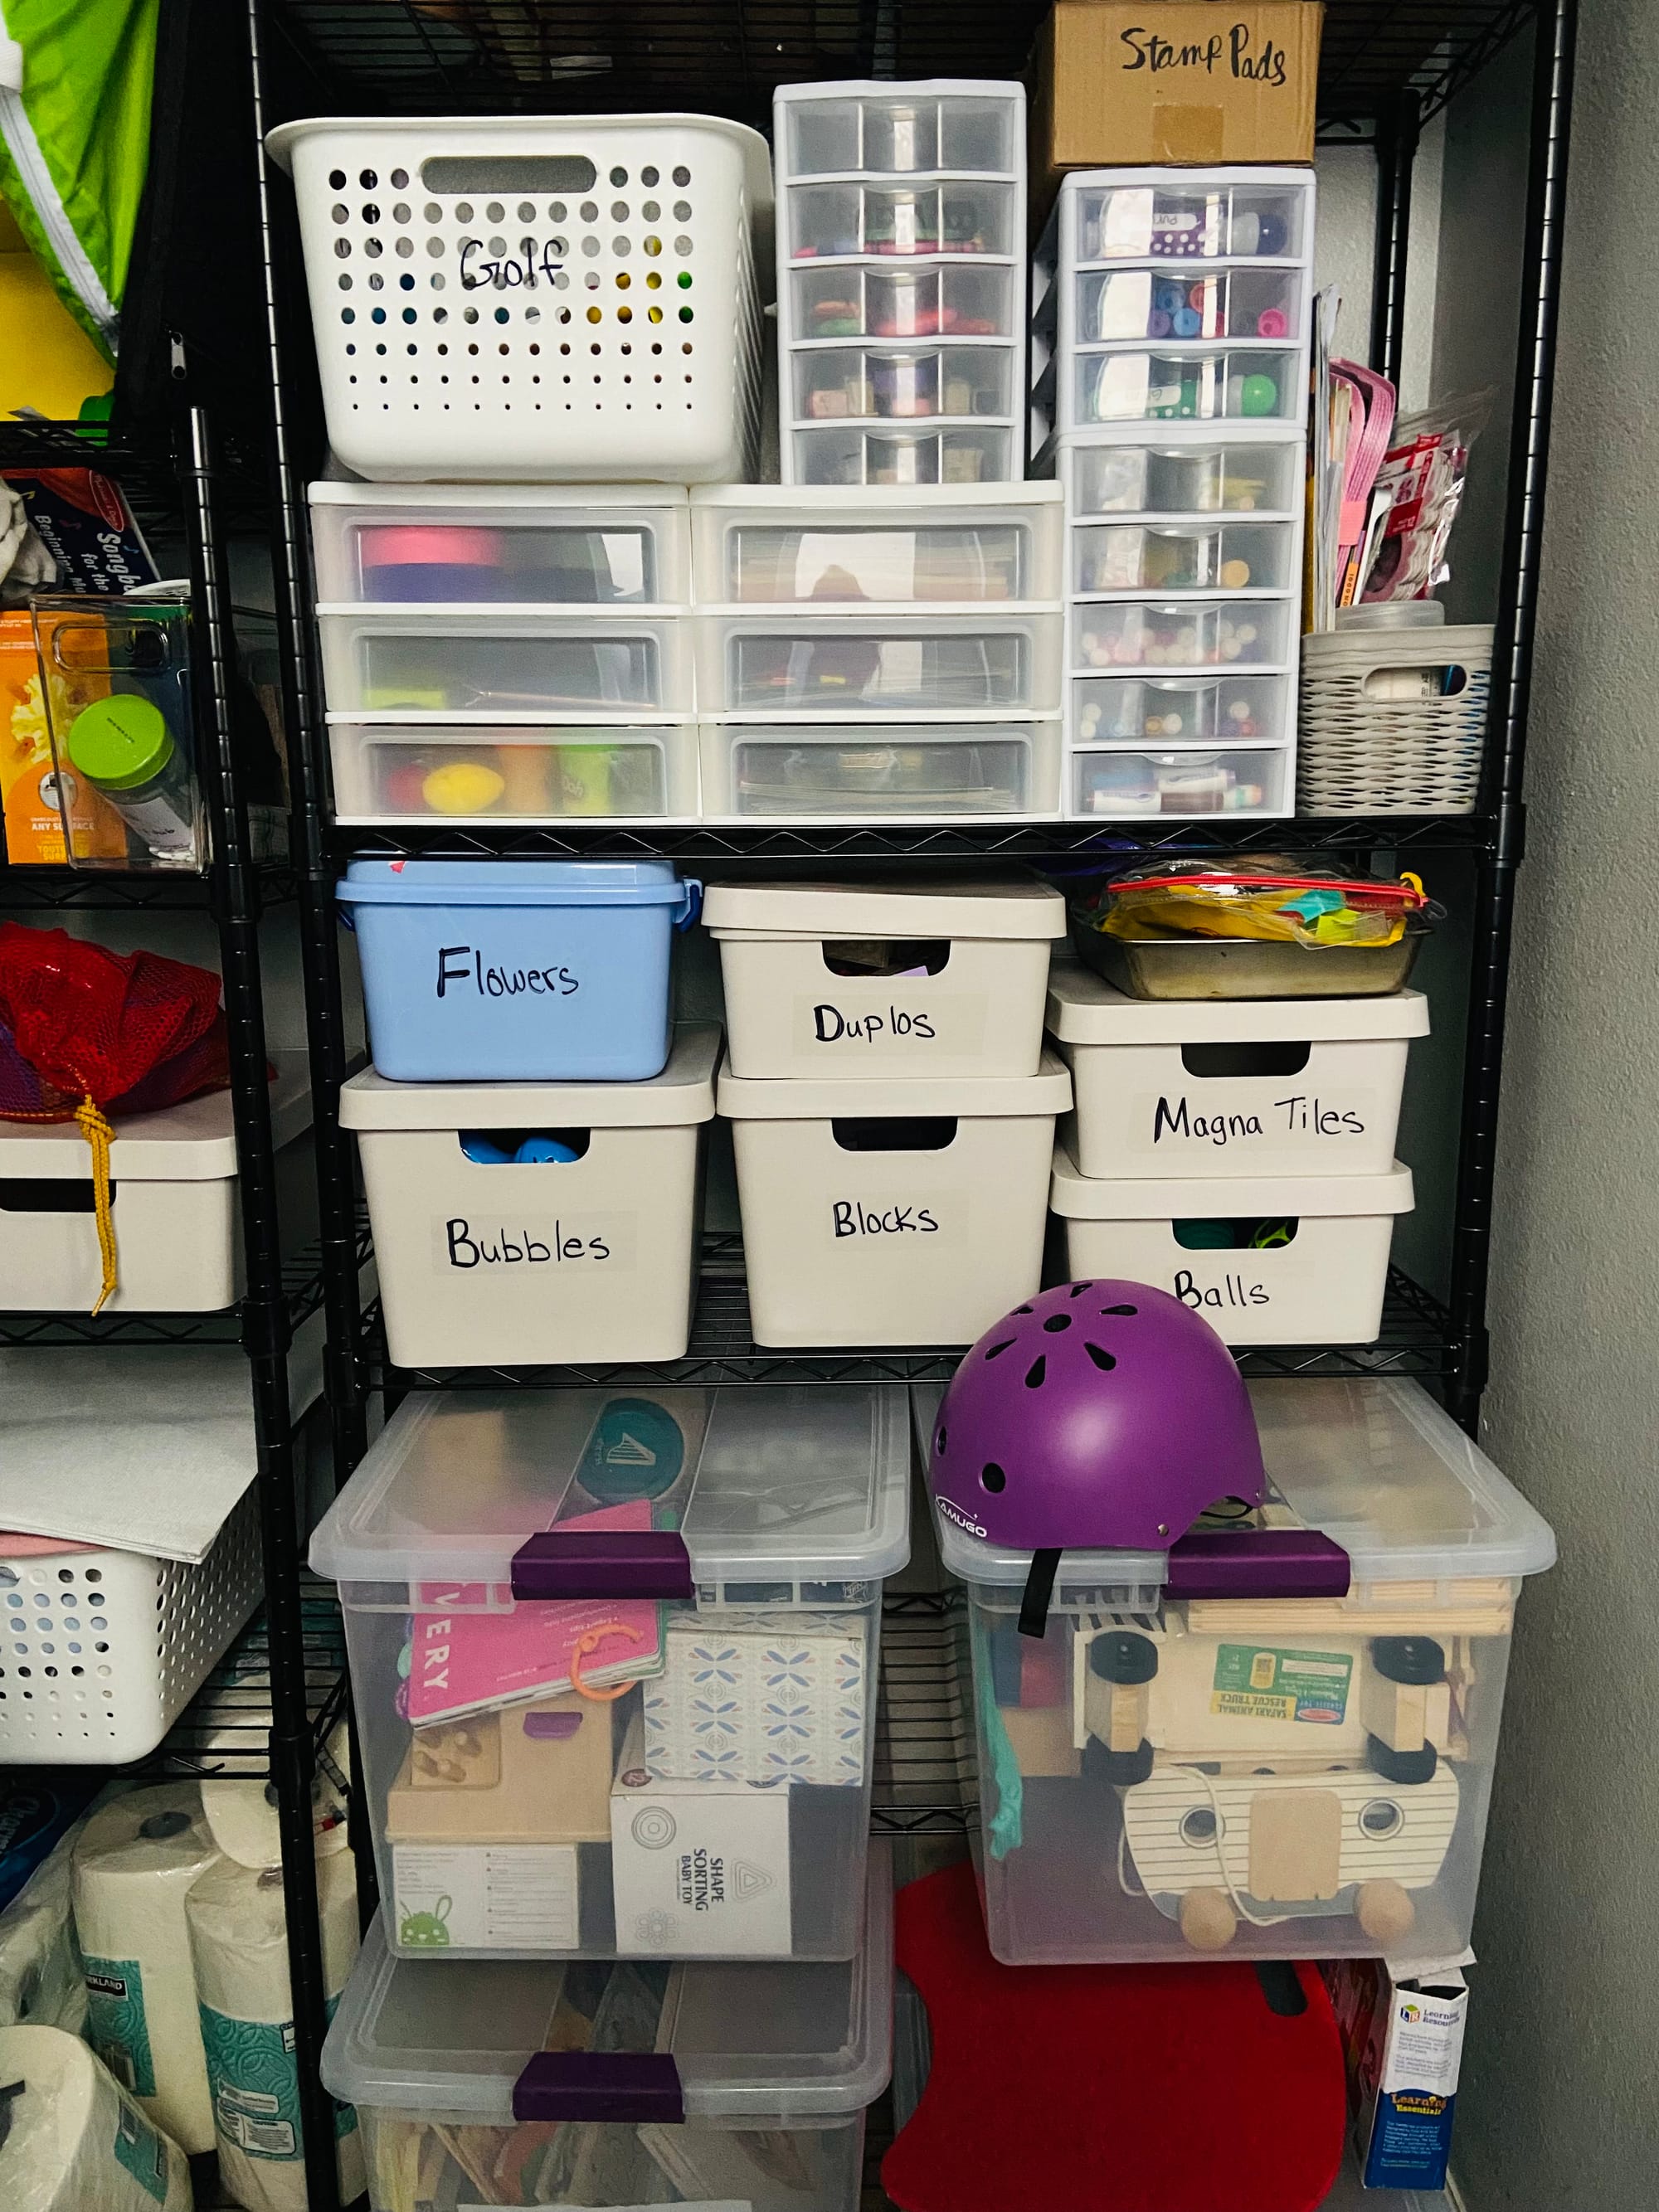
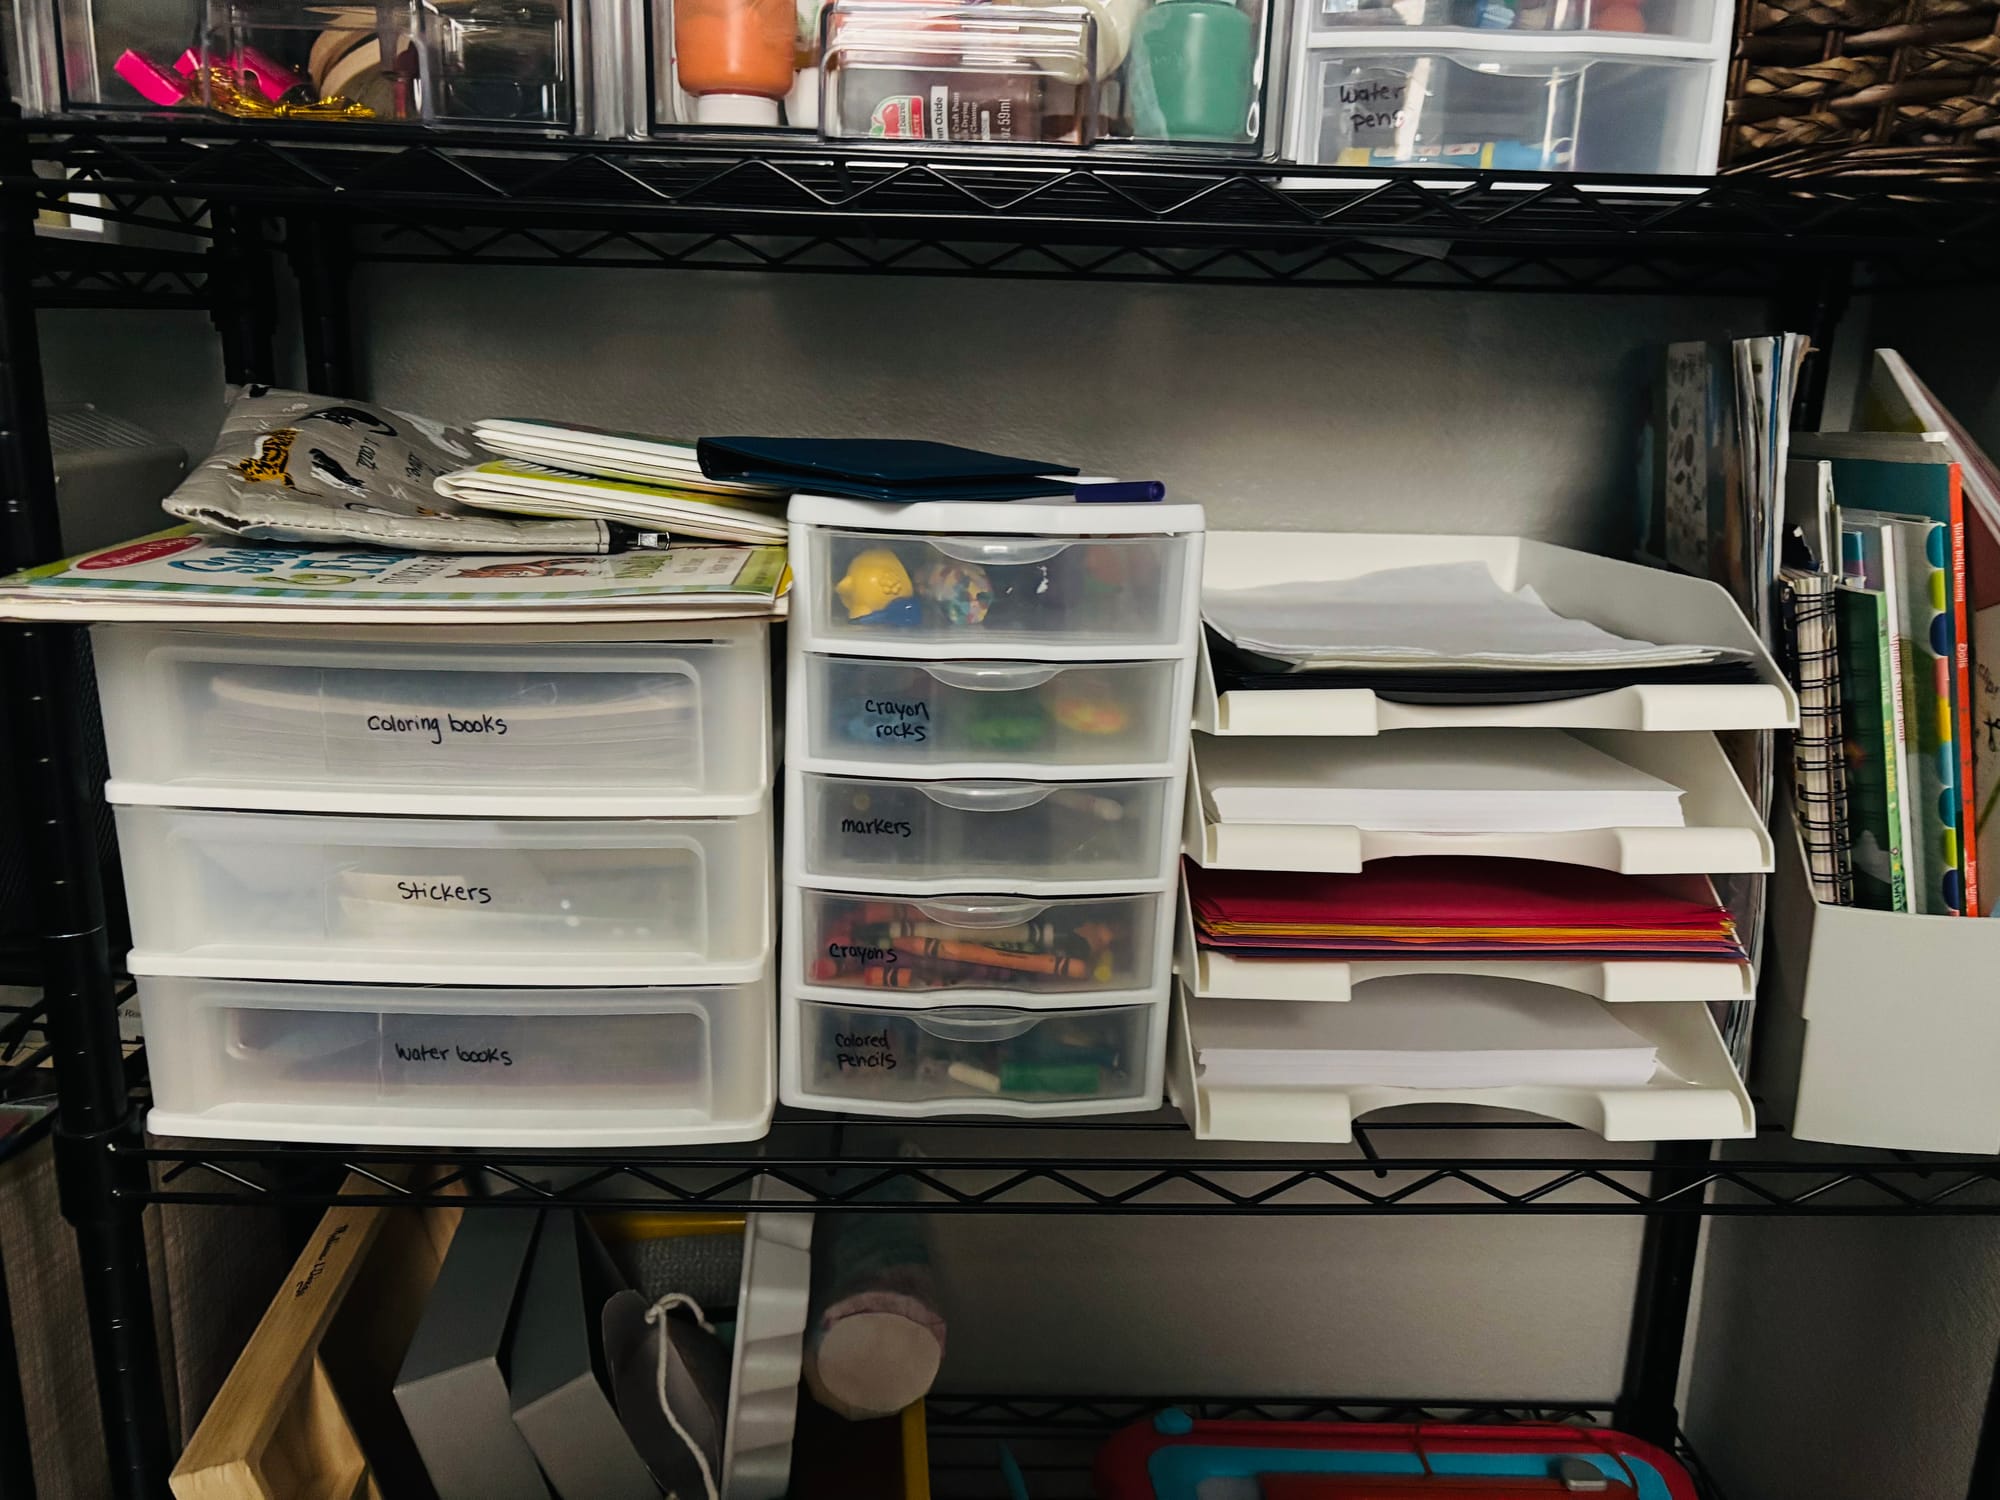
Since relocating the toys upstairs, more shelves were freed up to reconfigure the space. One of my goals was to allow the girls more freedom to access a limited amount of supplies by placing crayons and paper on a lower shelf.
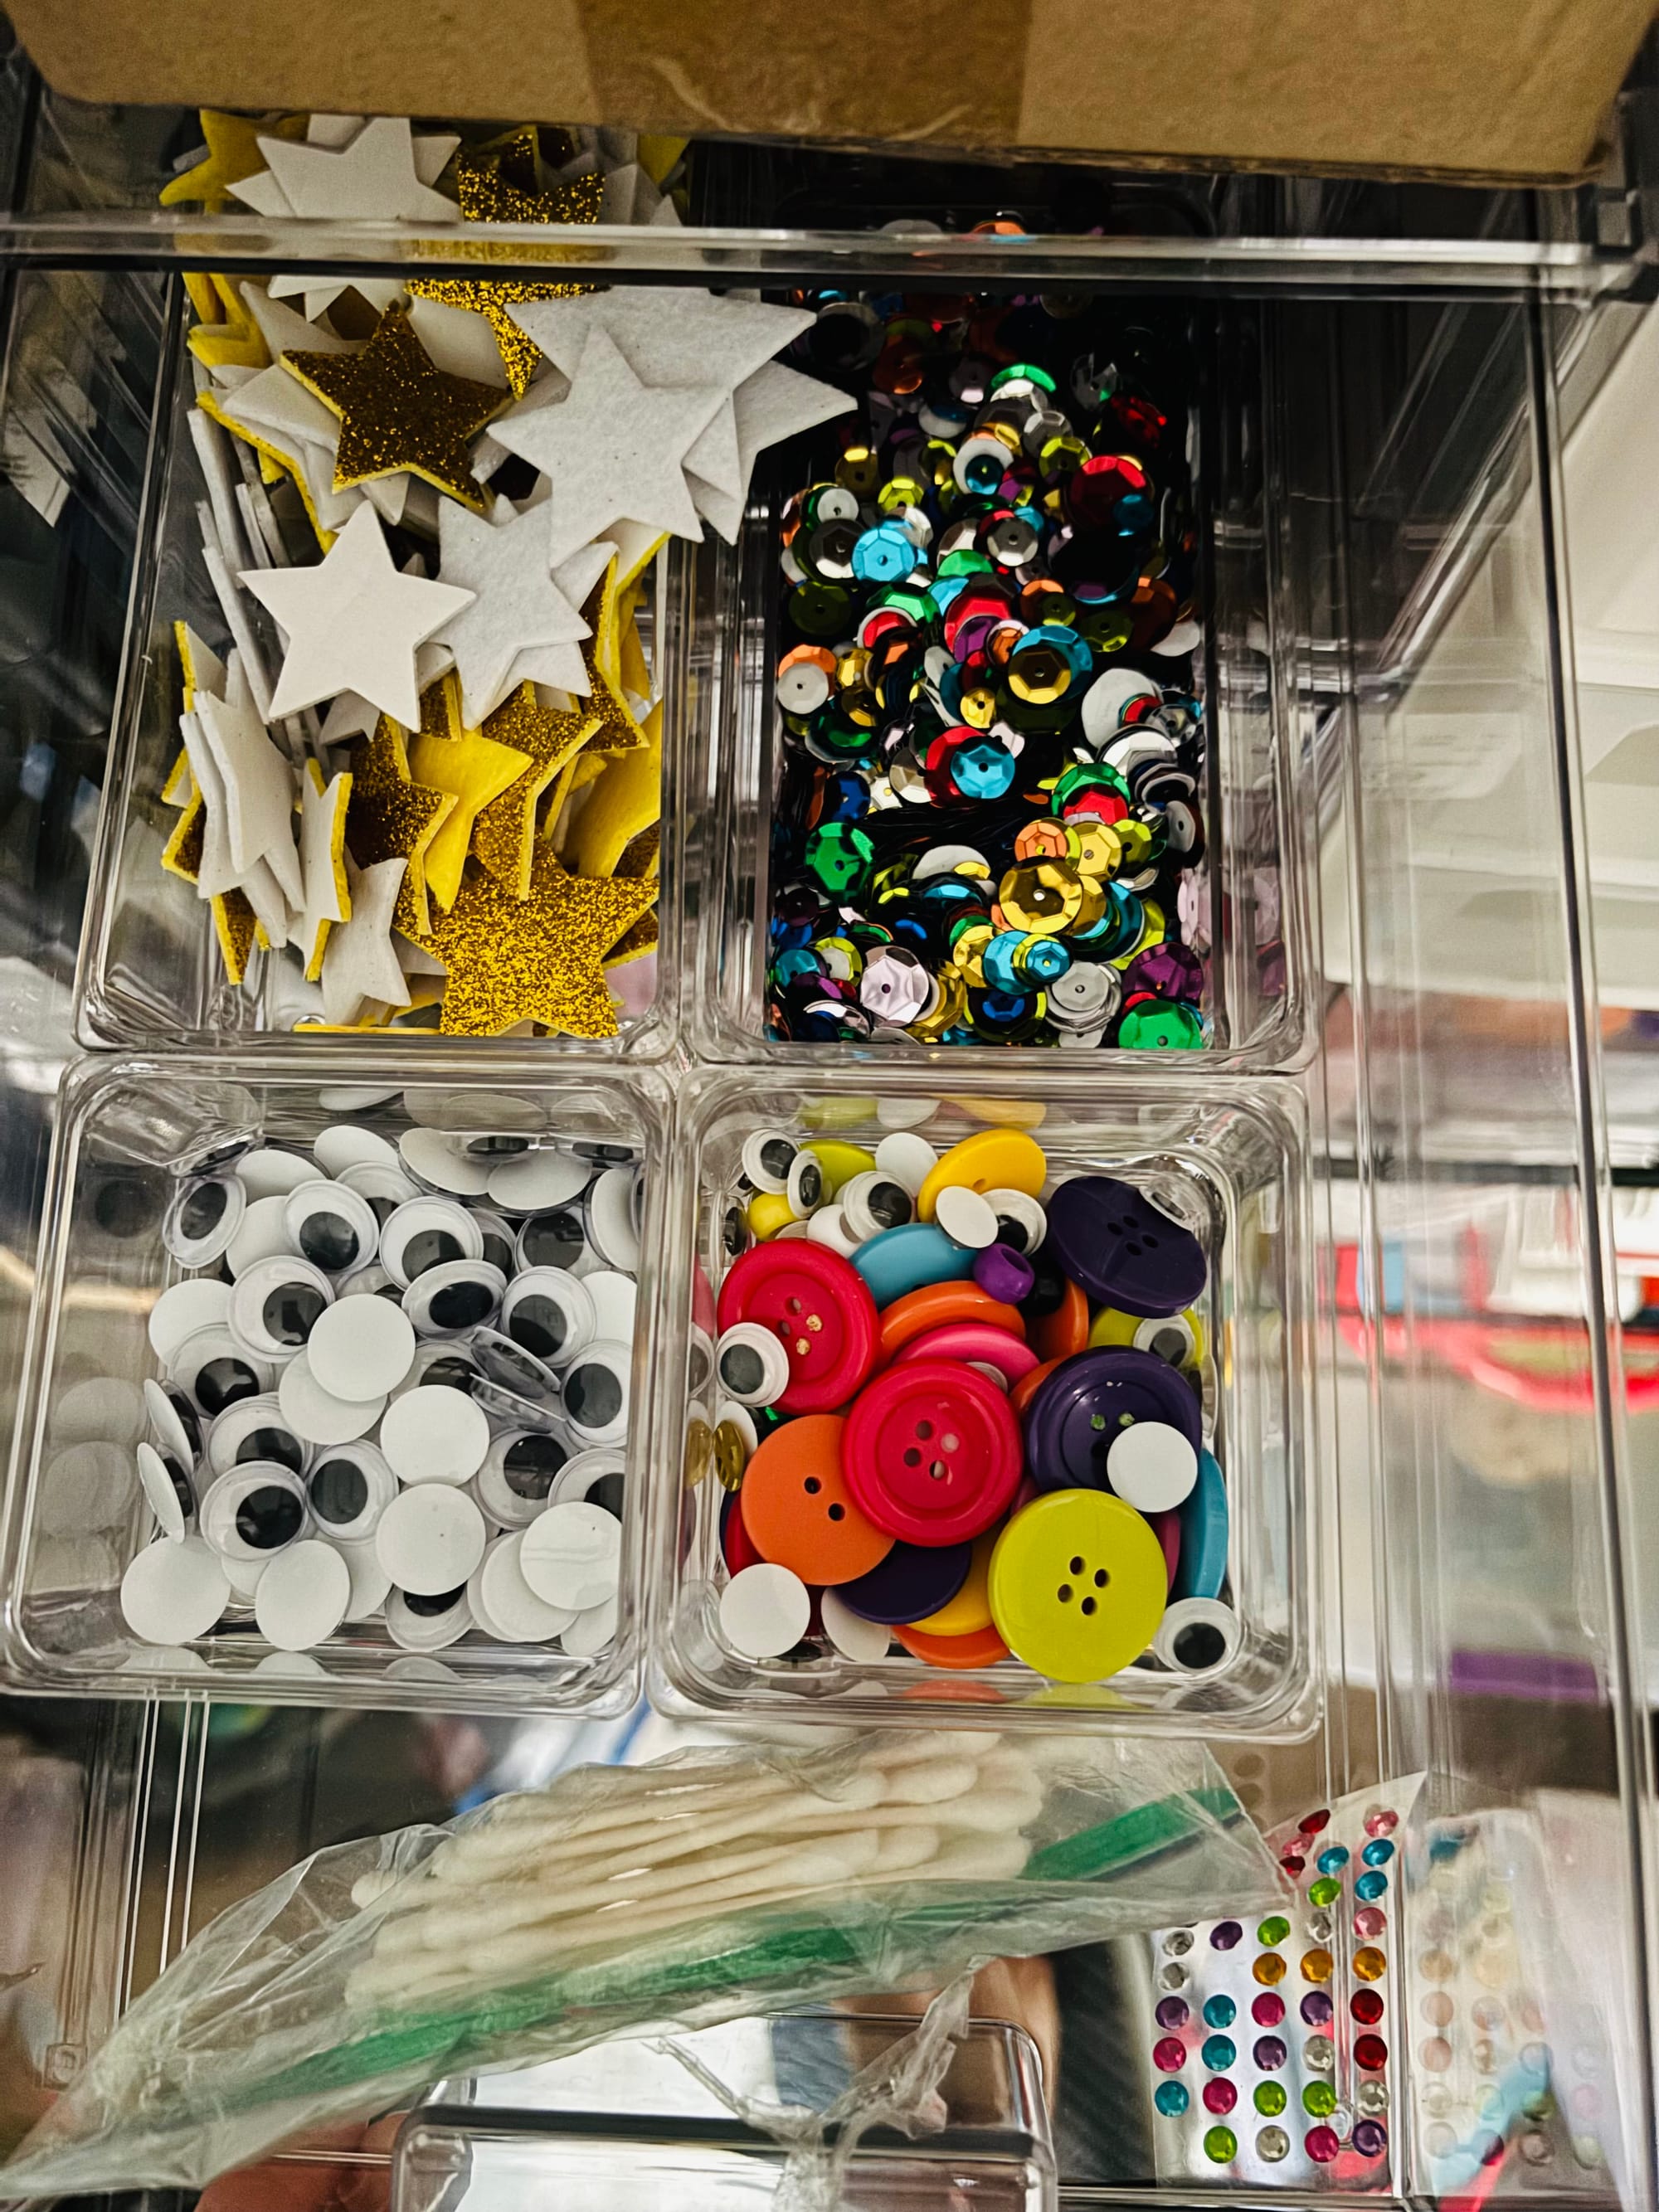
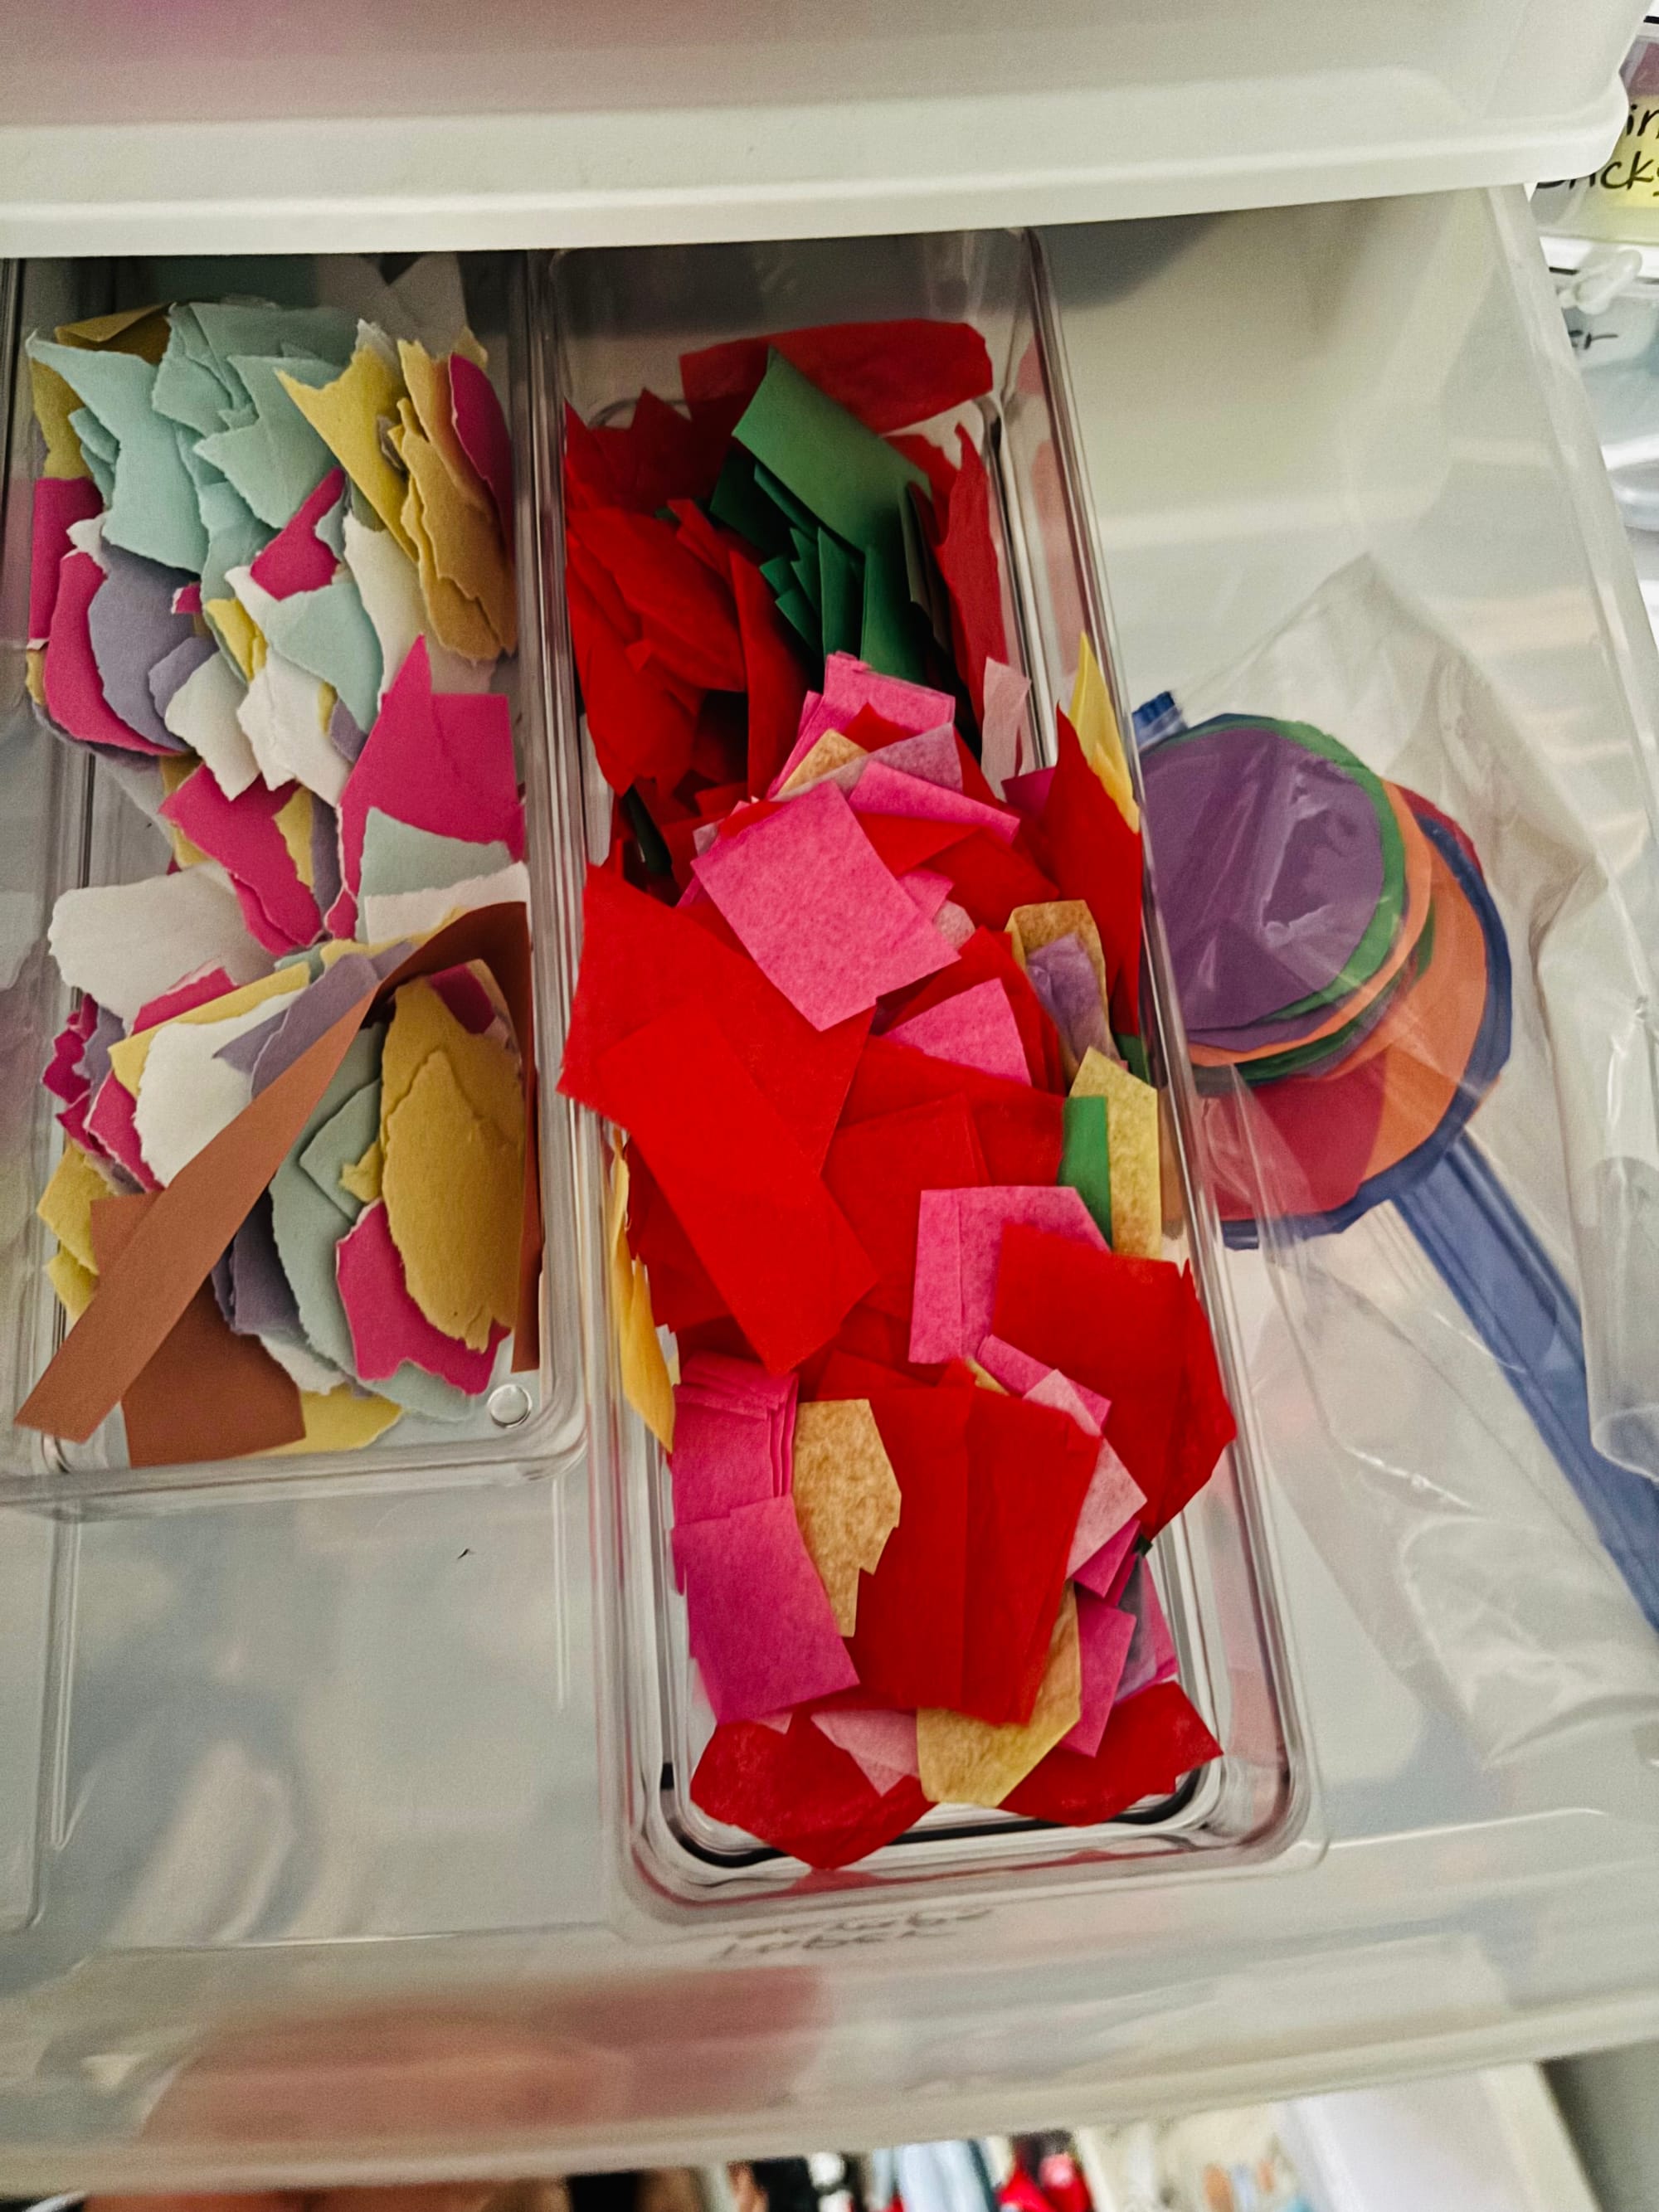
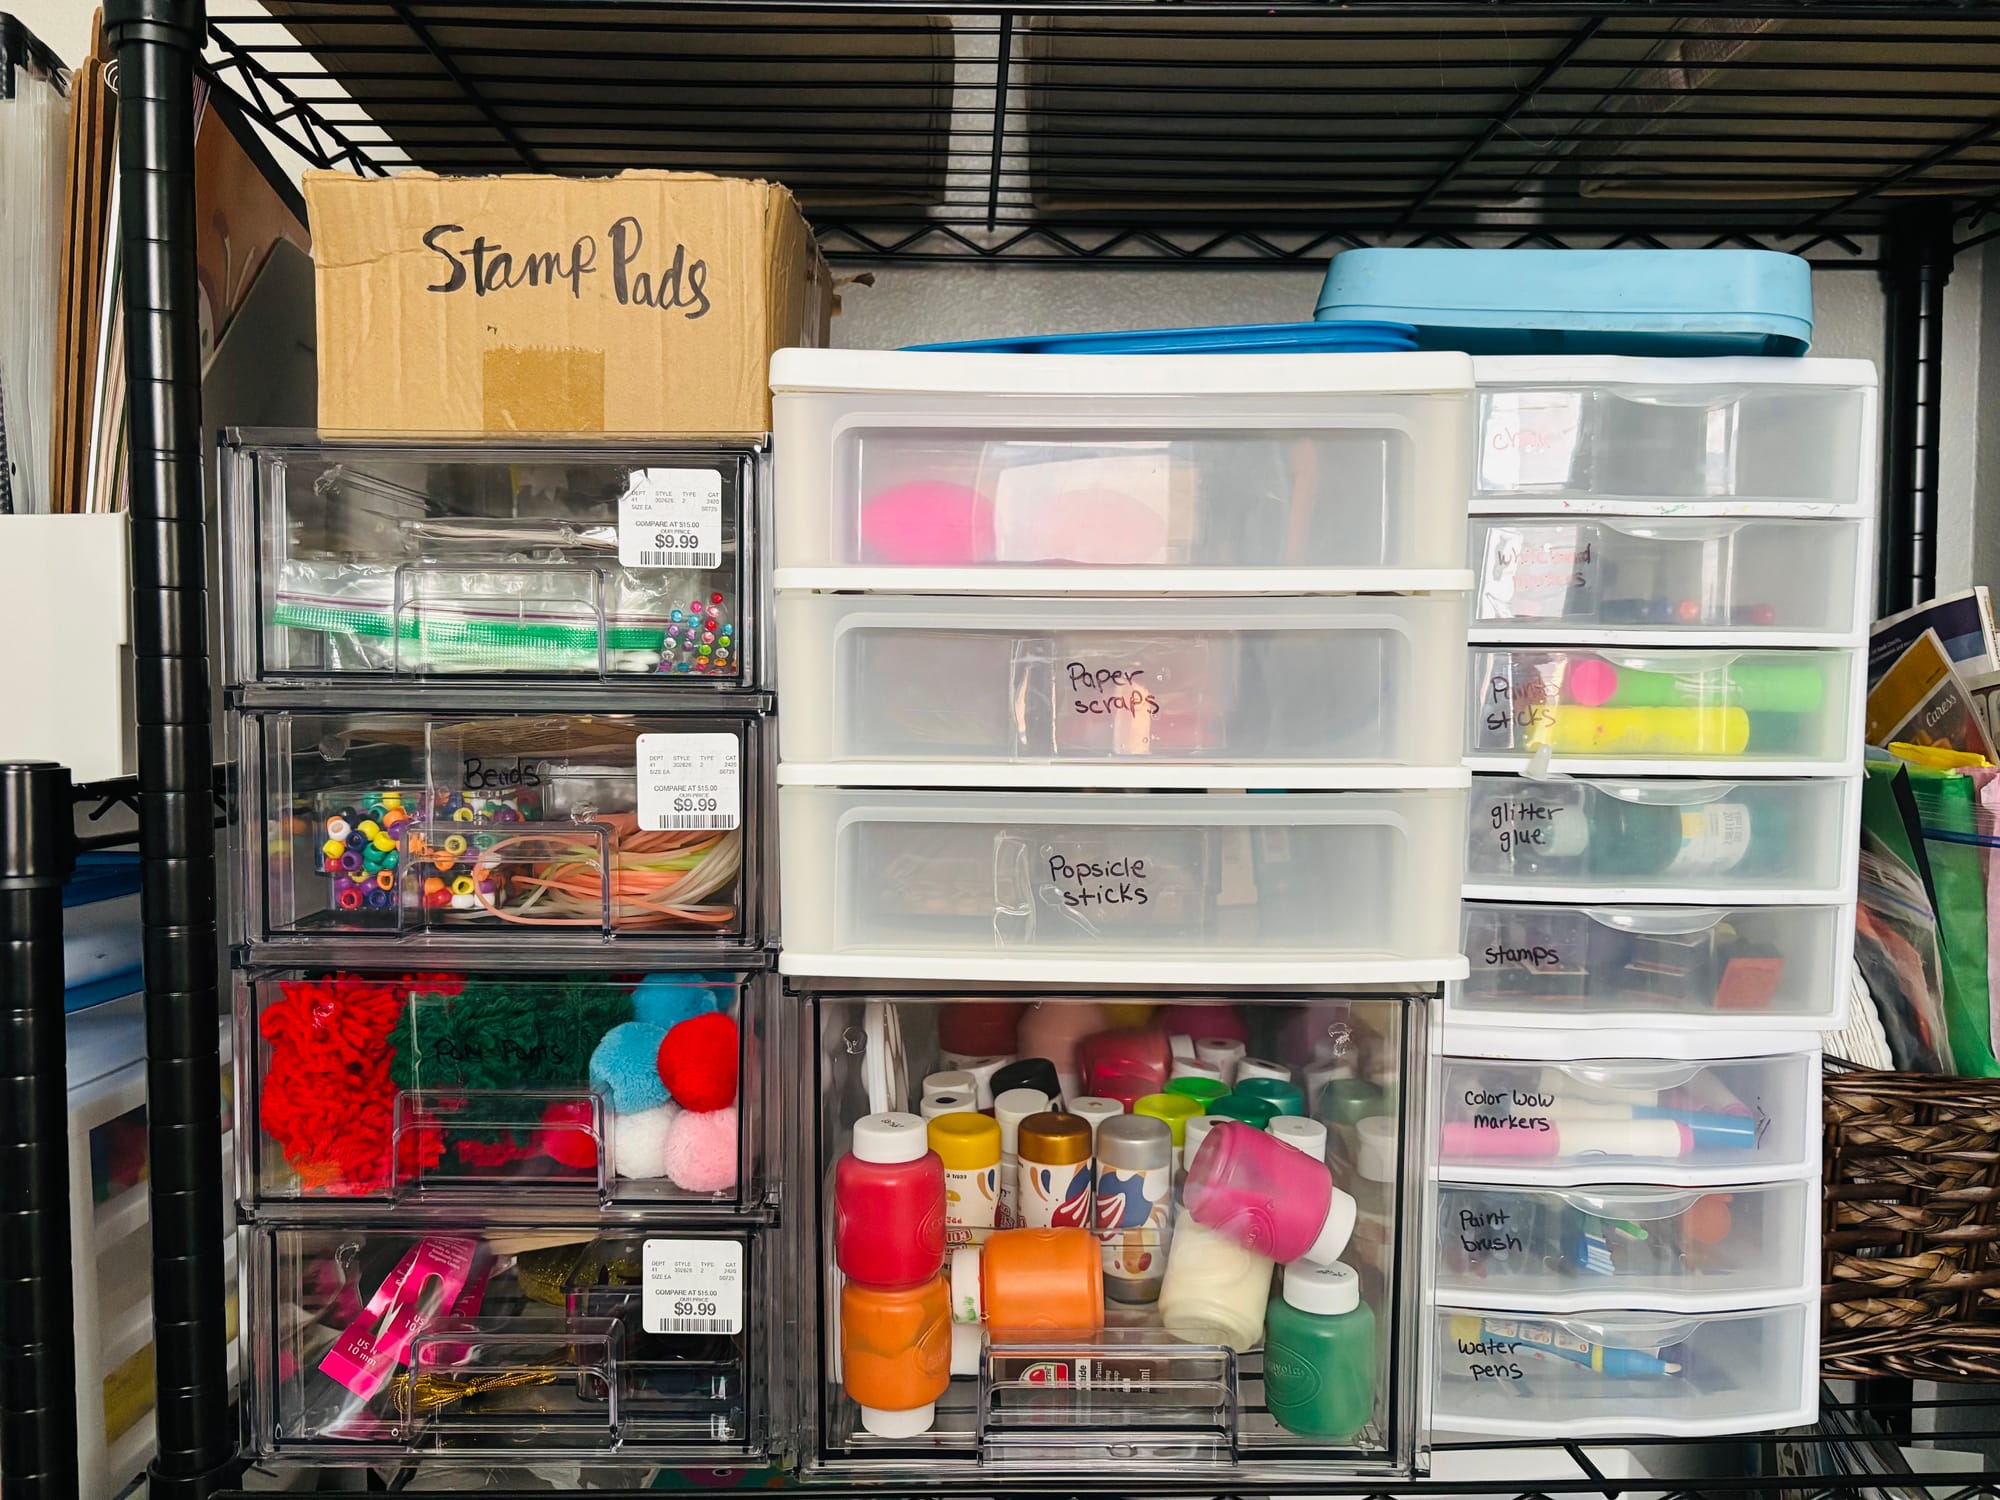
After gathering inspiration, I visited our local HomeGoods store to spy out any discounted clear organizing drawers. I stumbled upon a display of BINO crates — all large clear stackable drawers! I also snagged a few small containers that would fit inside the drawers. I am notoriously inadequate when it comes to visualizing spaces, so I did the most “hands-on” configuring I could without breaking seals and stickers.
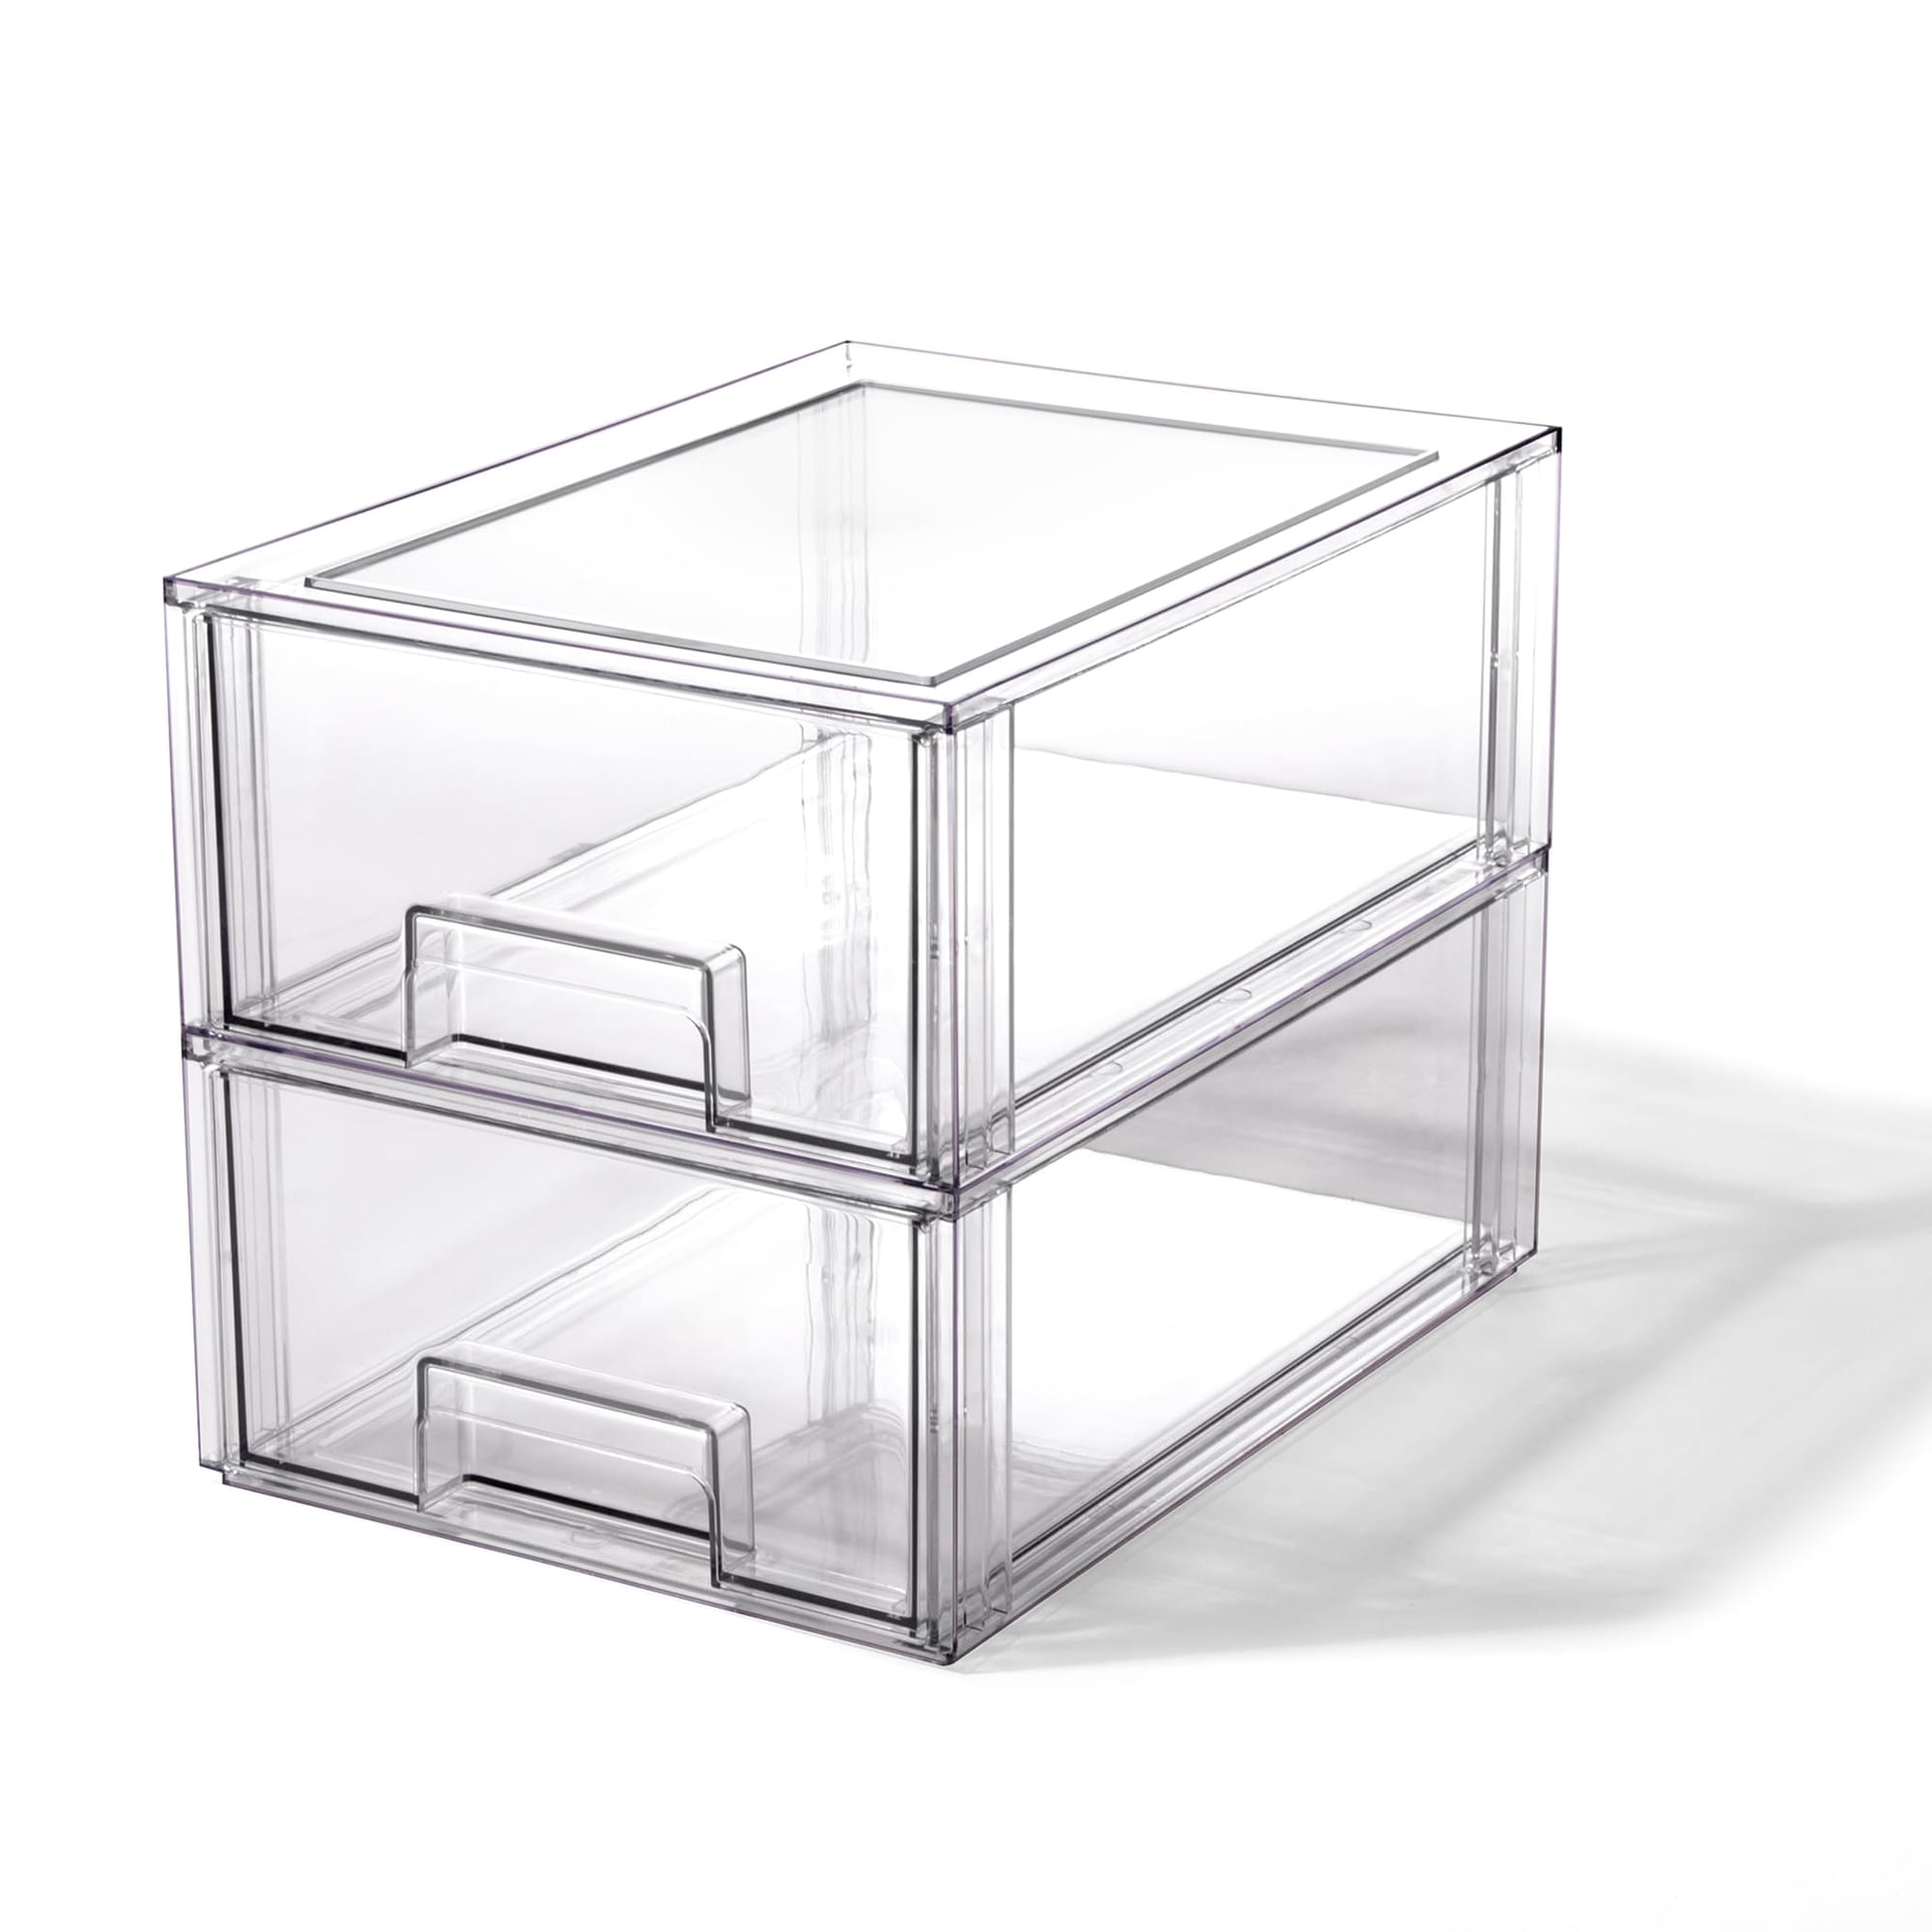
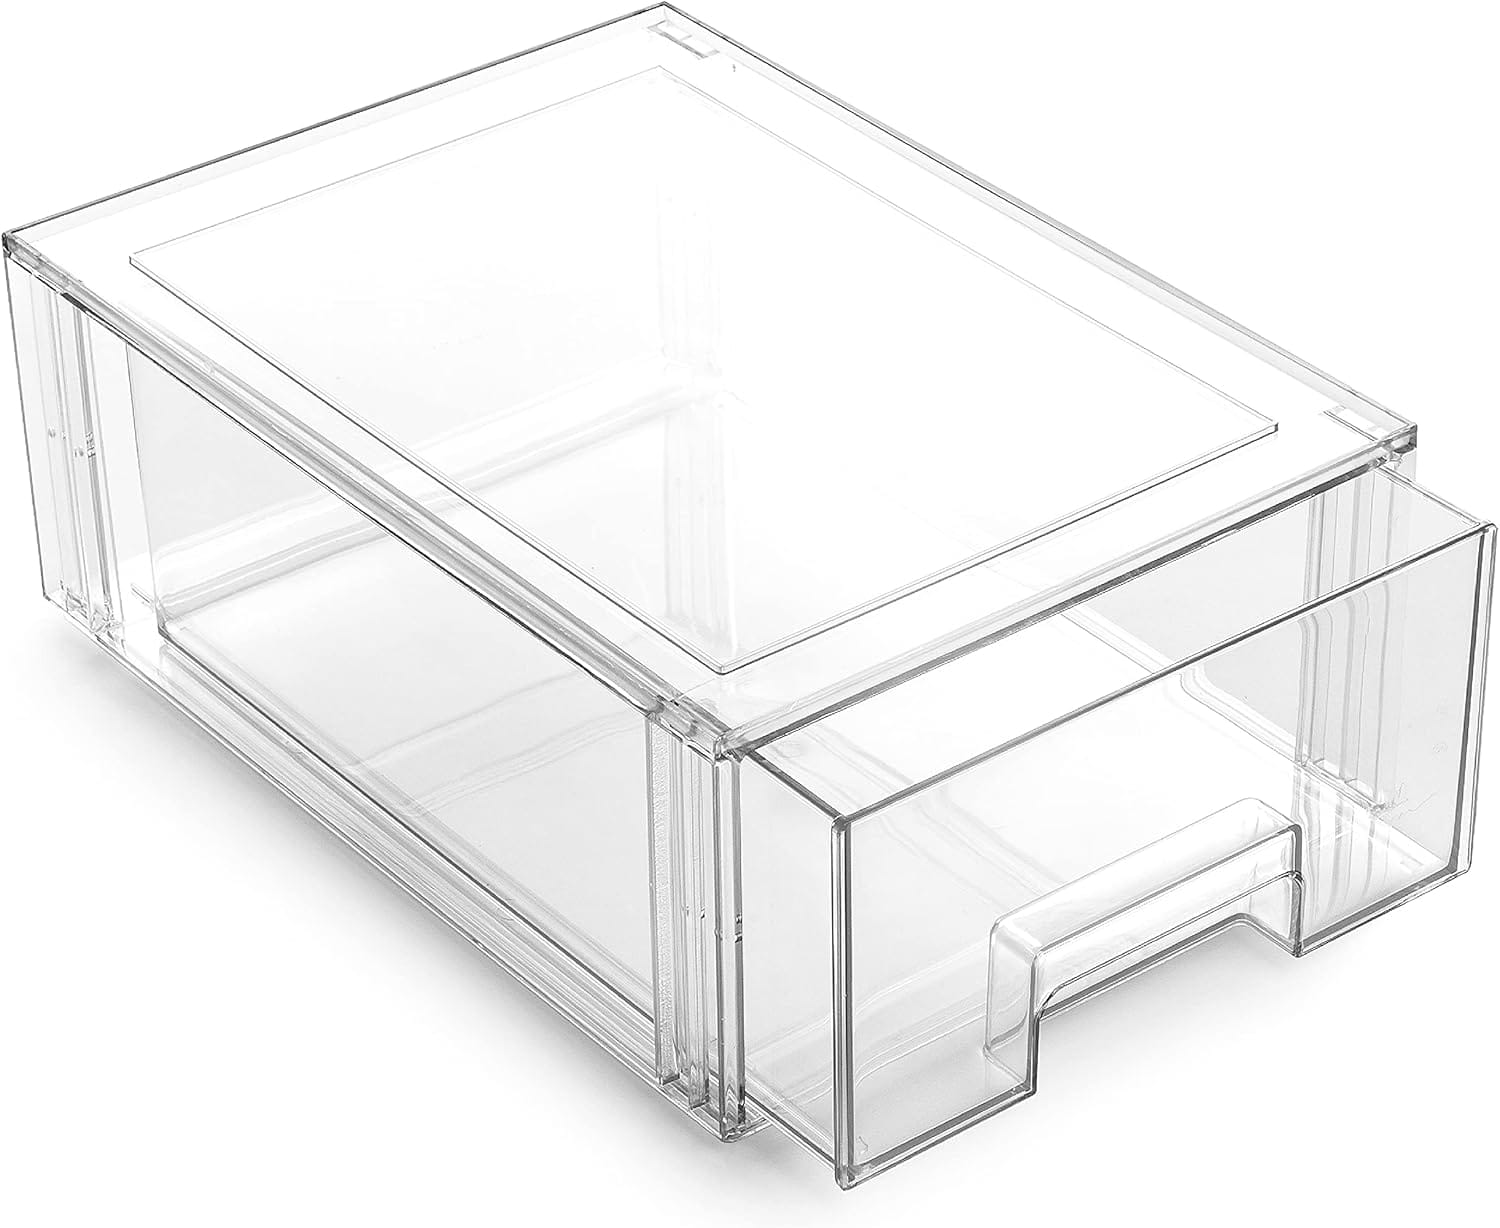
BINO Drawers
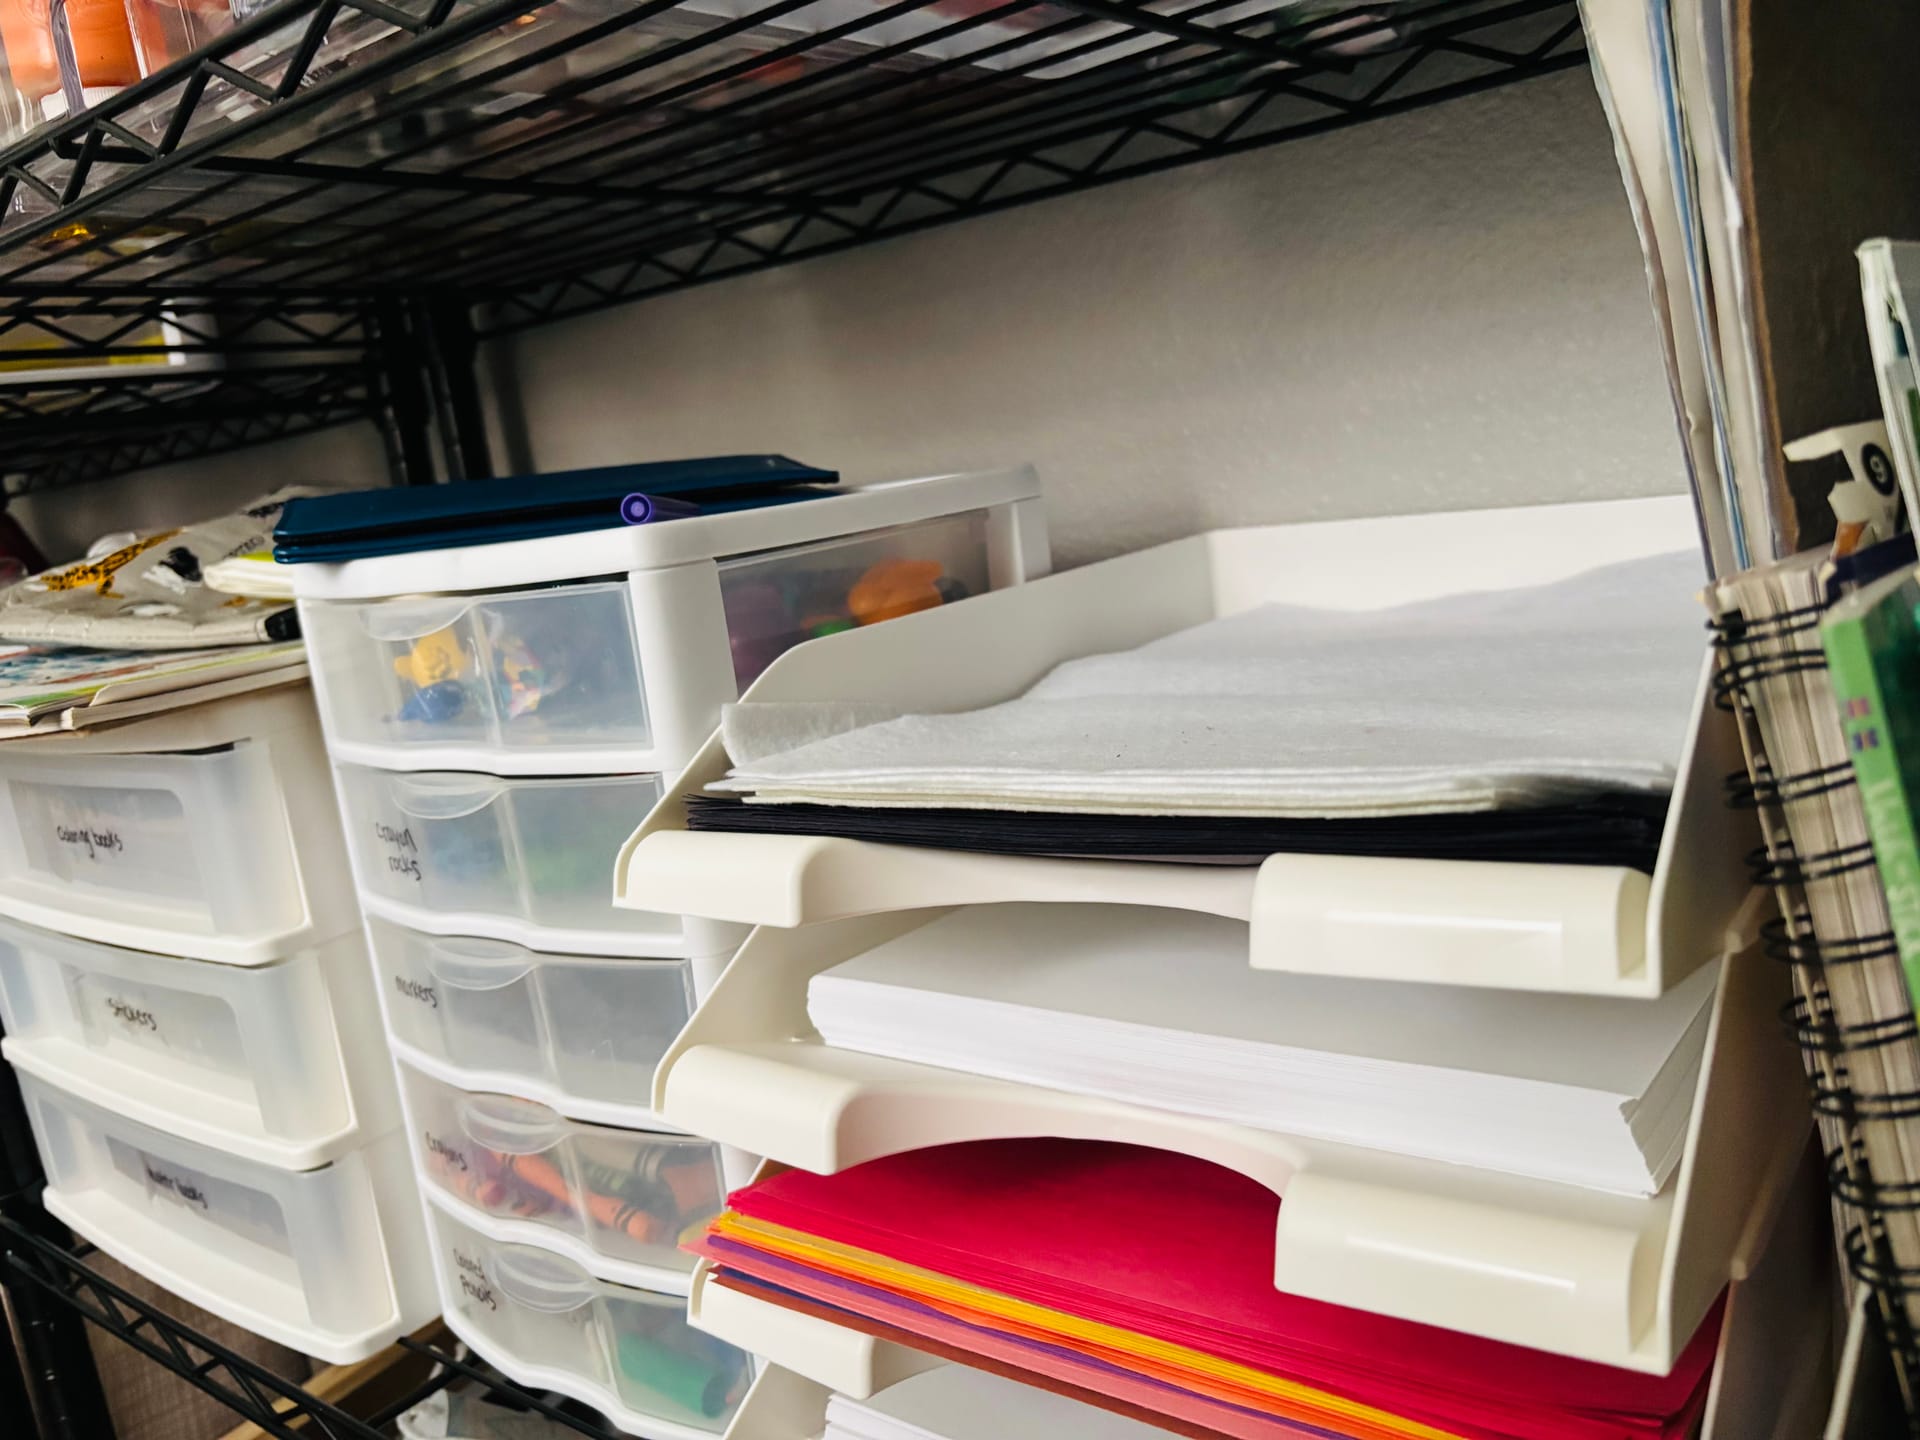
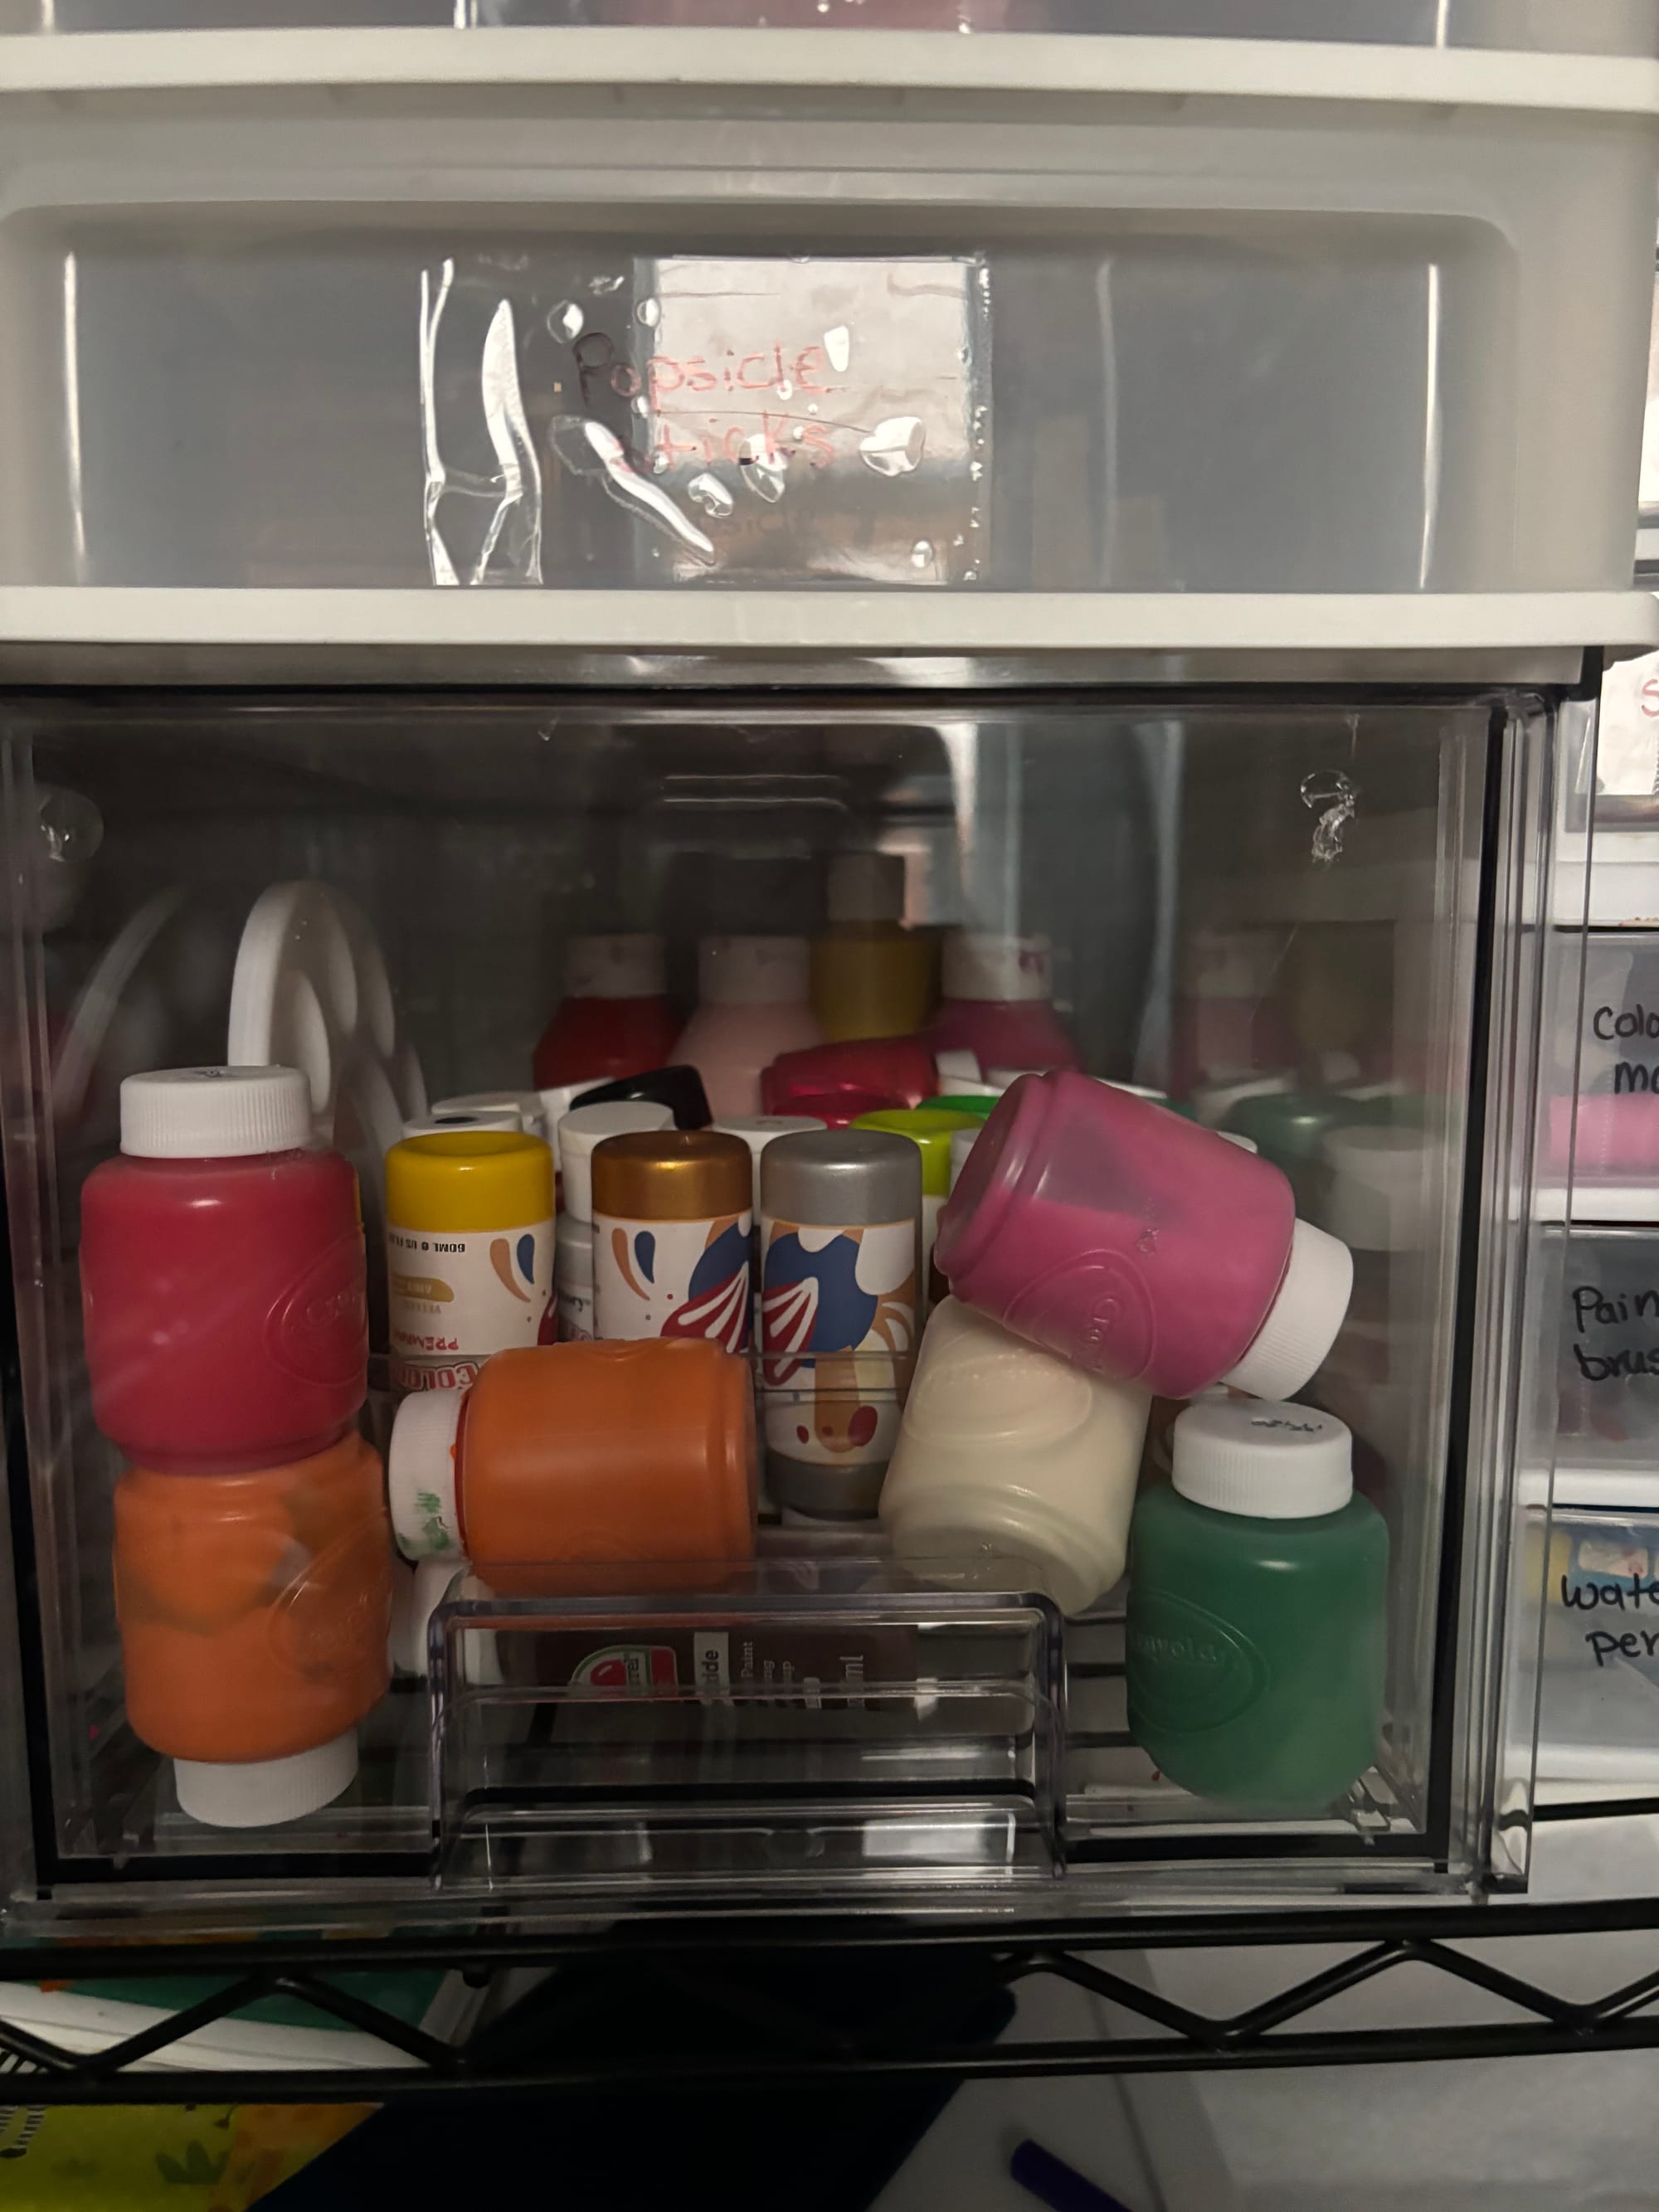
At home, I started assembling bins, trying my best to organize by type of craft. The small containers did not adequately utilize the entire drawer space, but it left room to slide in small items. All in all, the majority of our most used supplies fit in the drawers - even in some containers we previously had. Our leftover arts and crafts were placed into a large bin.
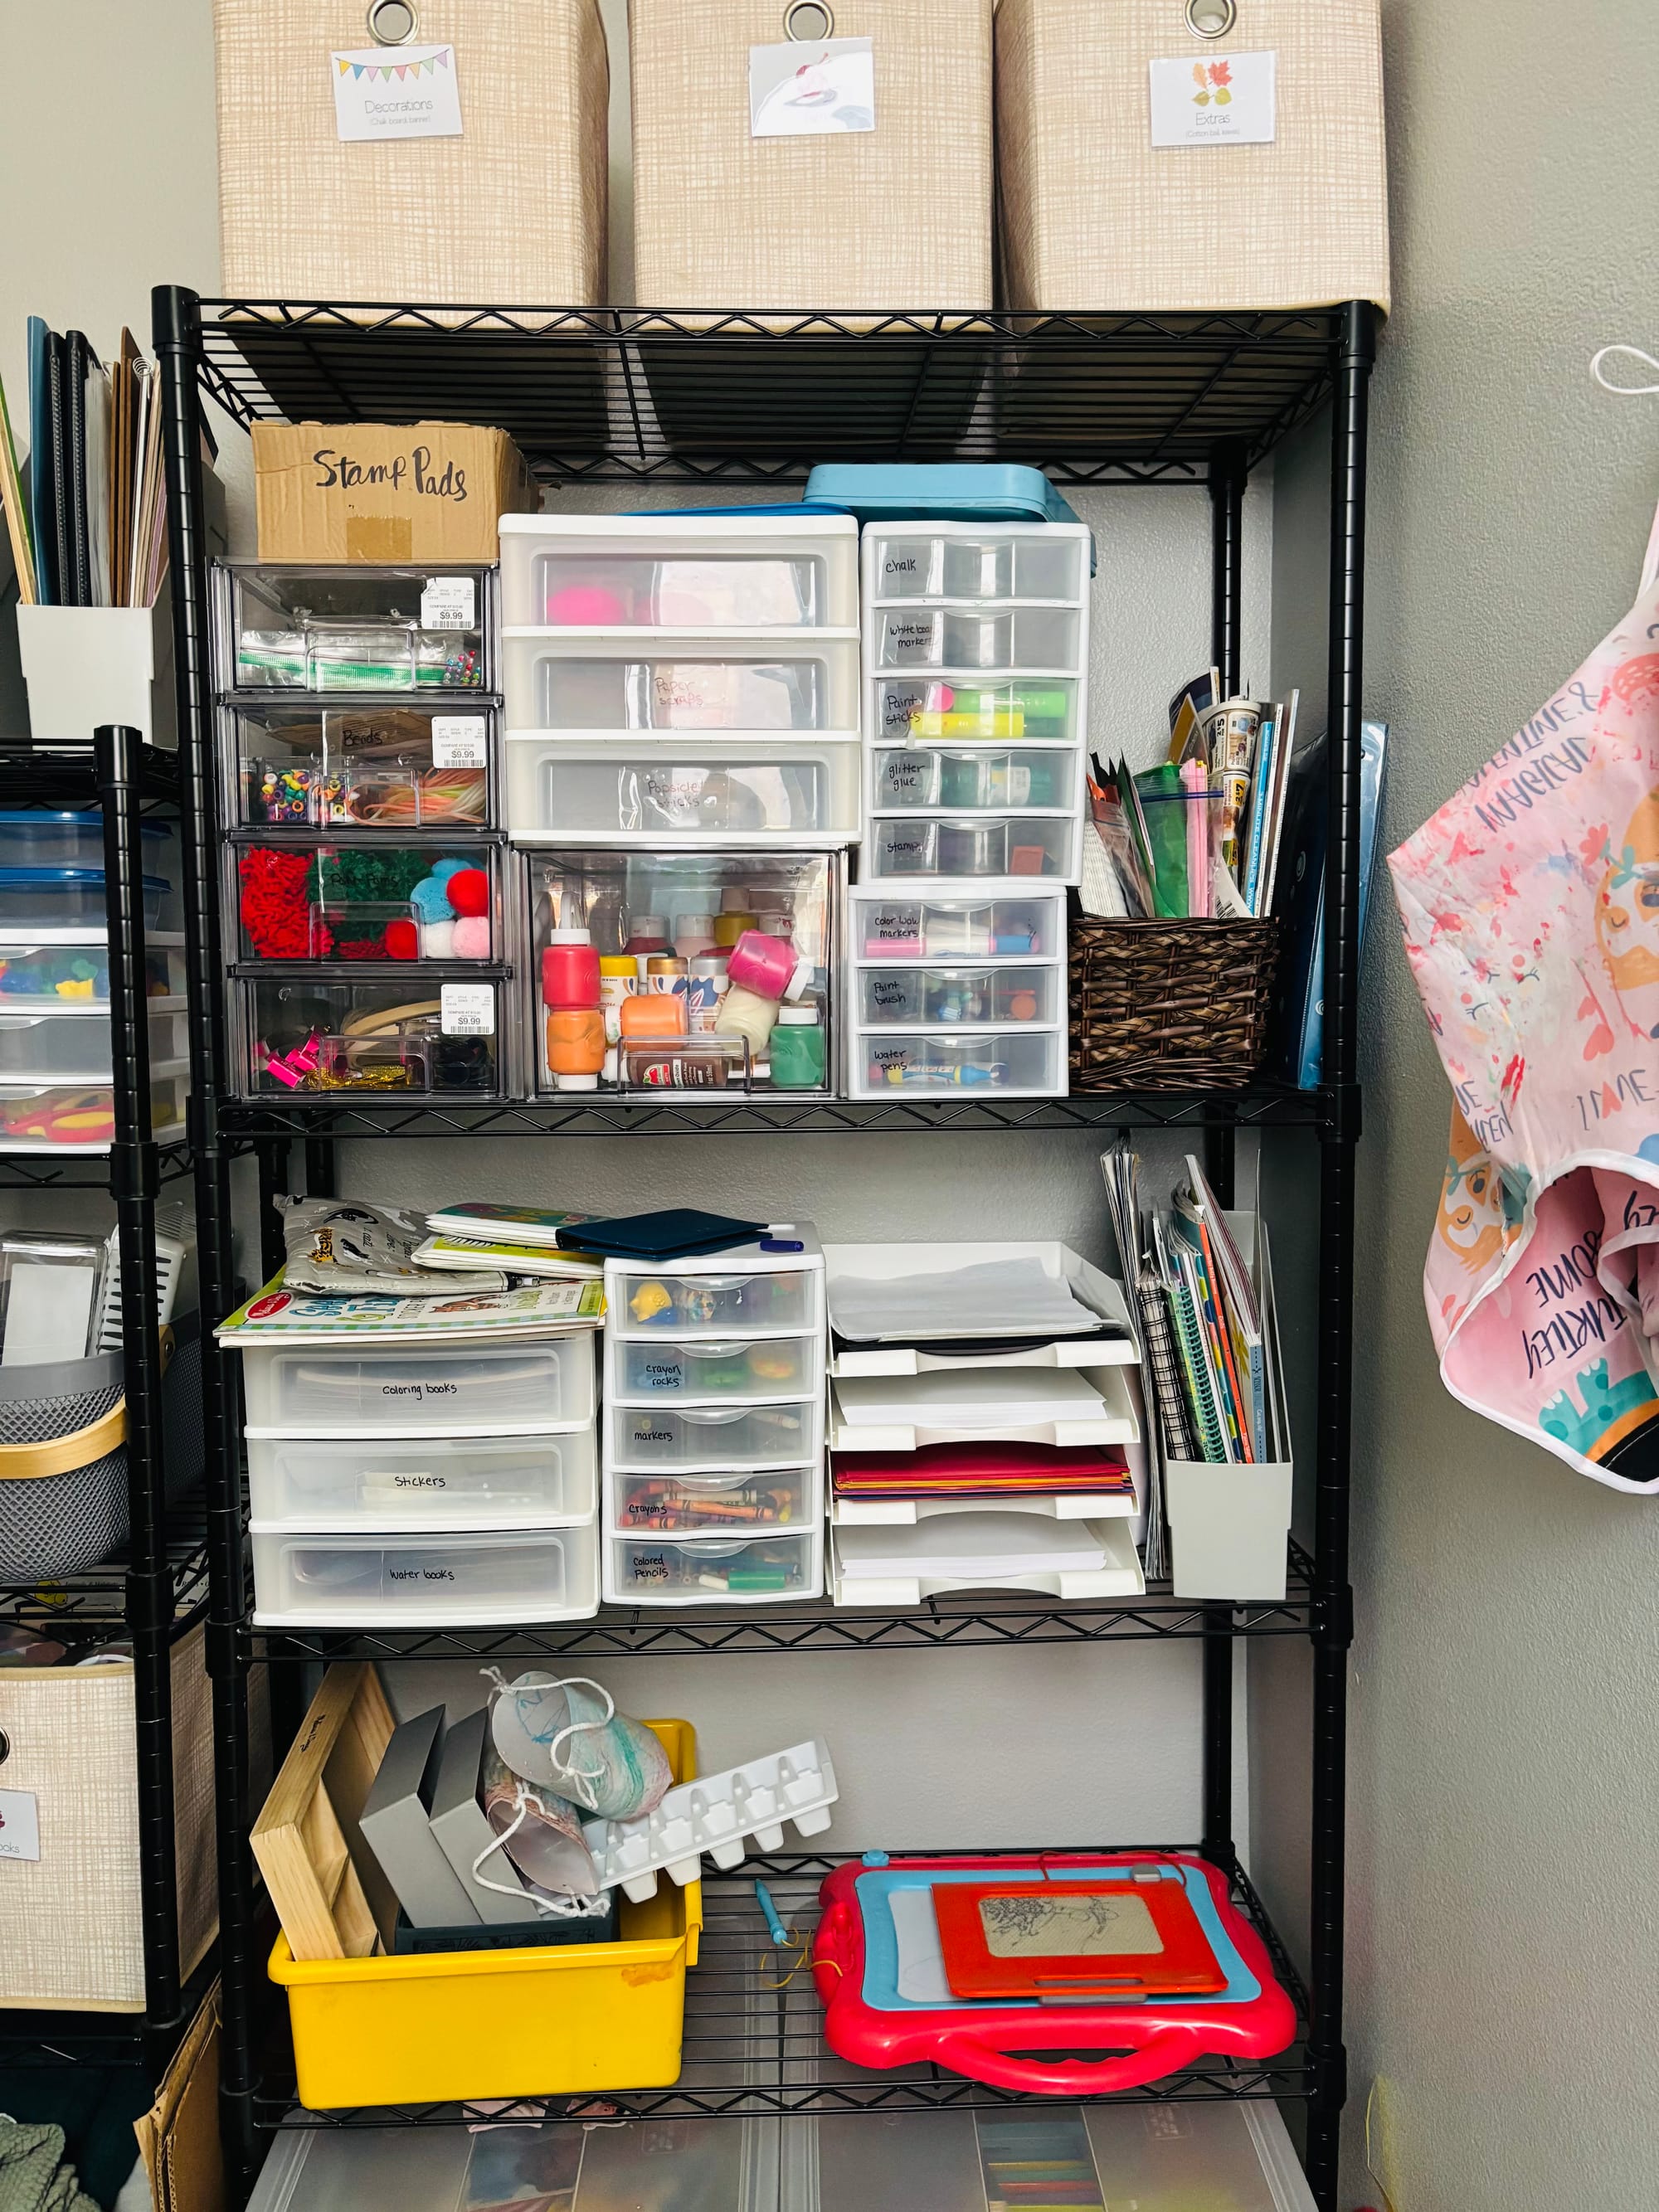
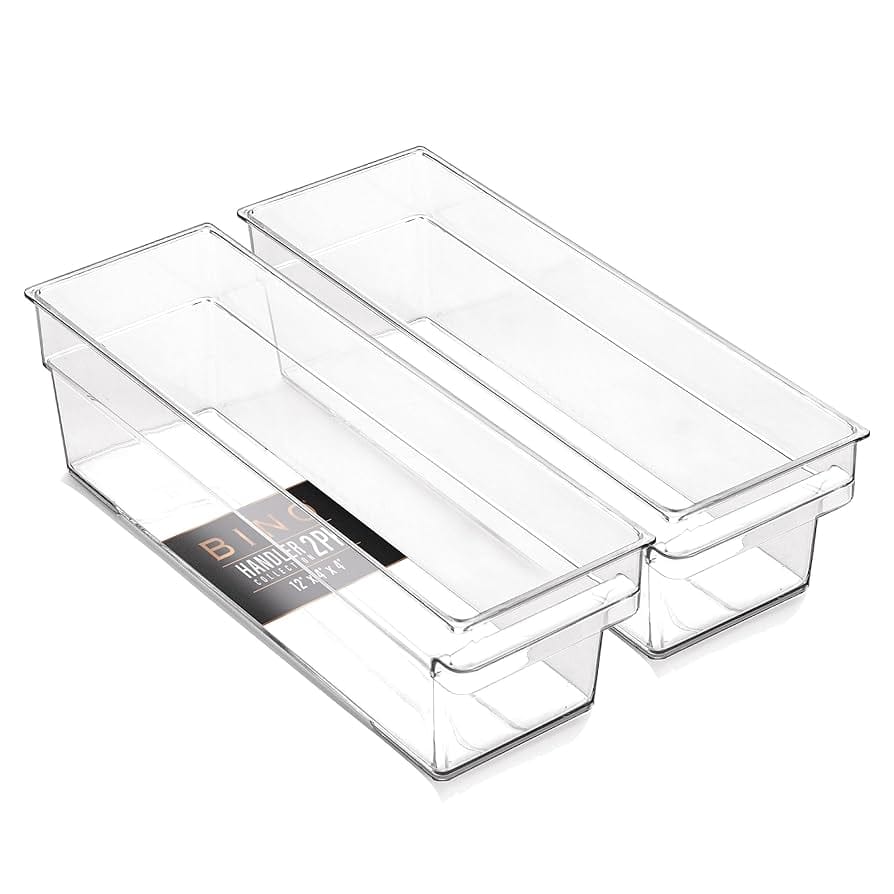
I also purchased a set of magazine holders and paper trays to better access activity books and paper. It looks much more organized.
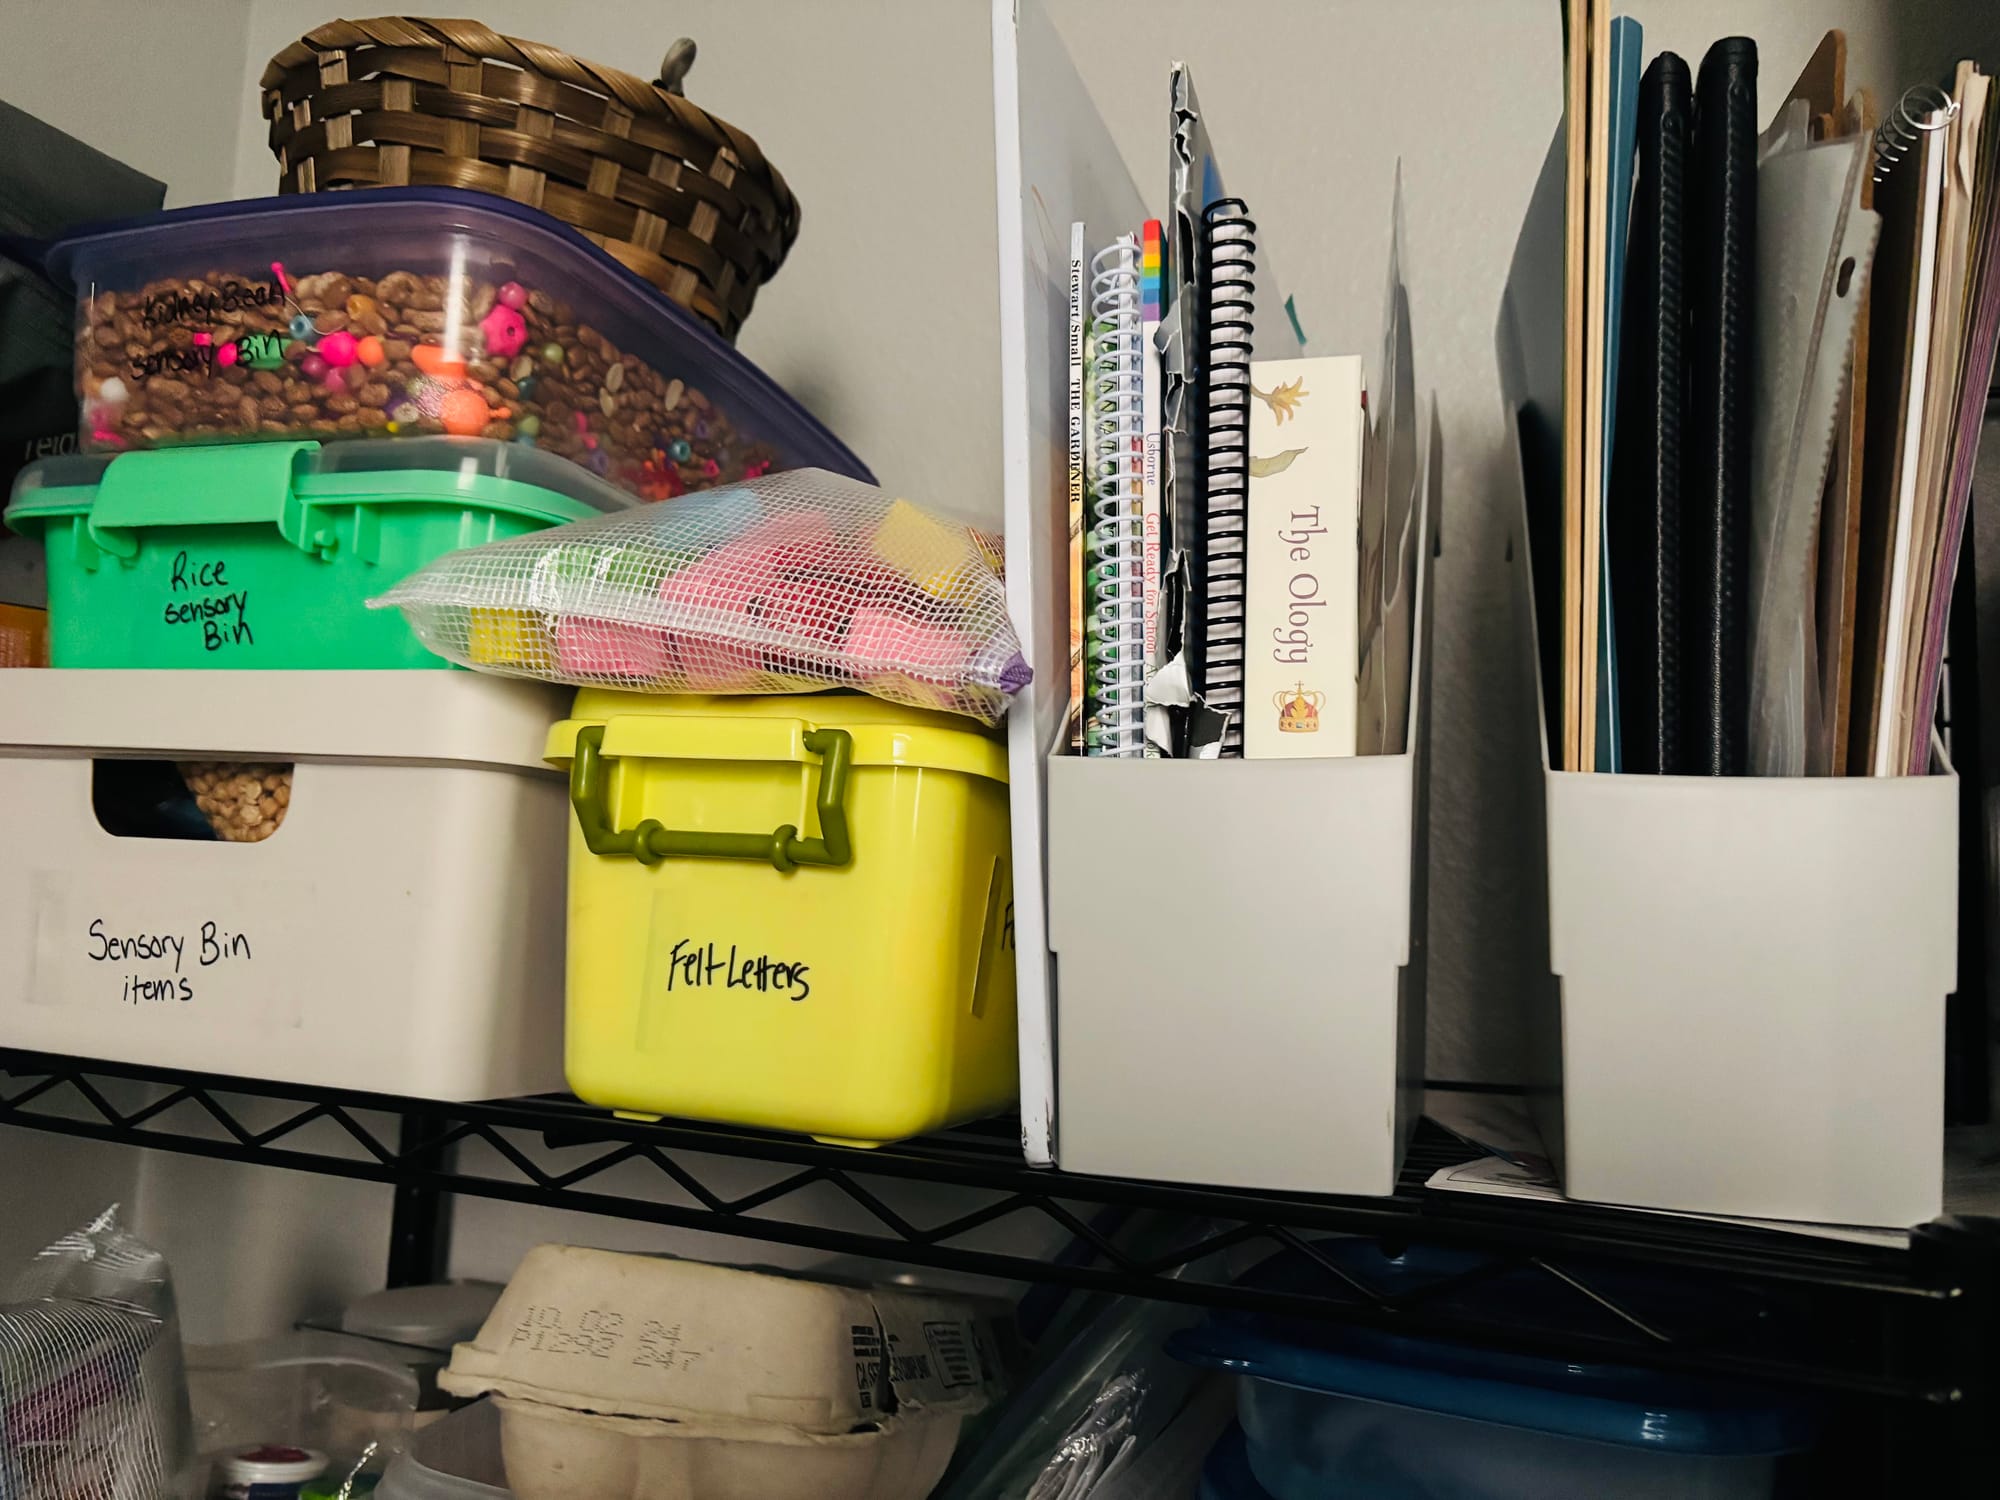
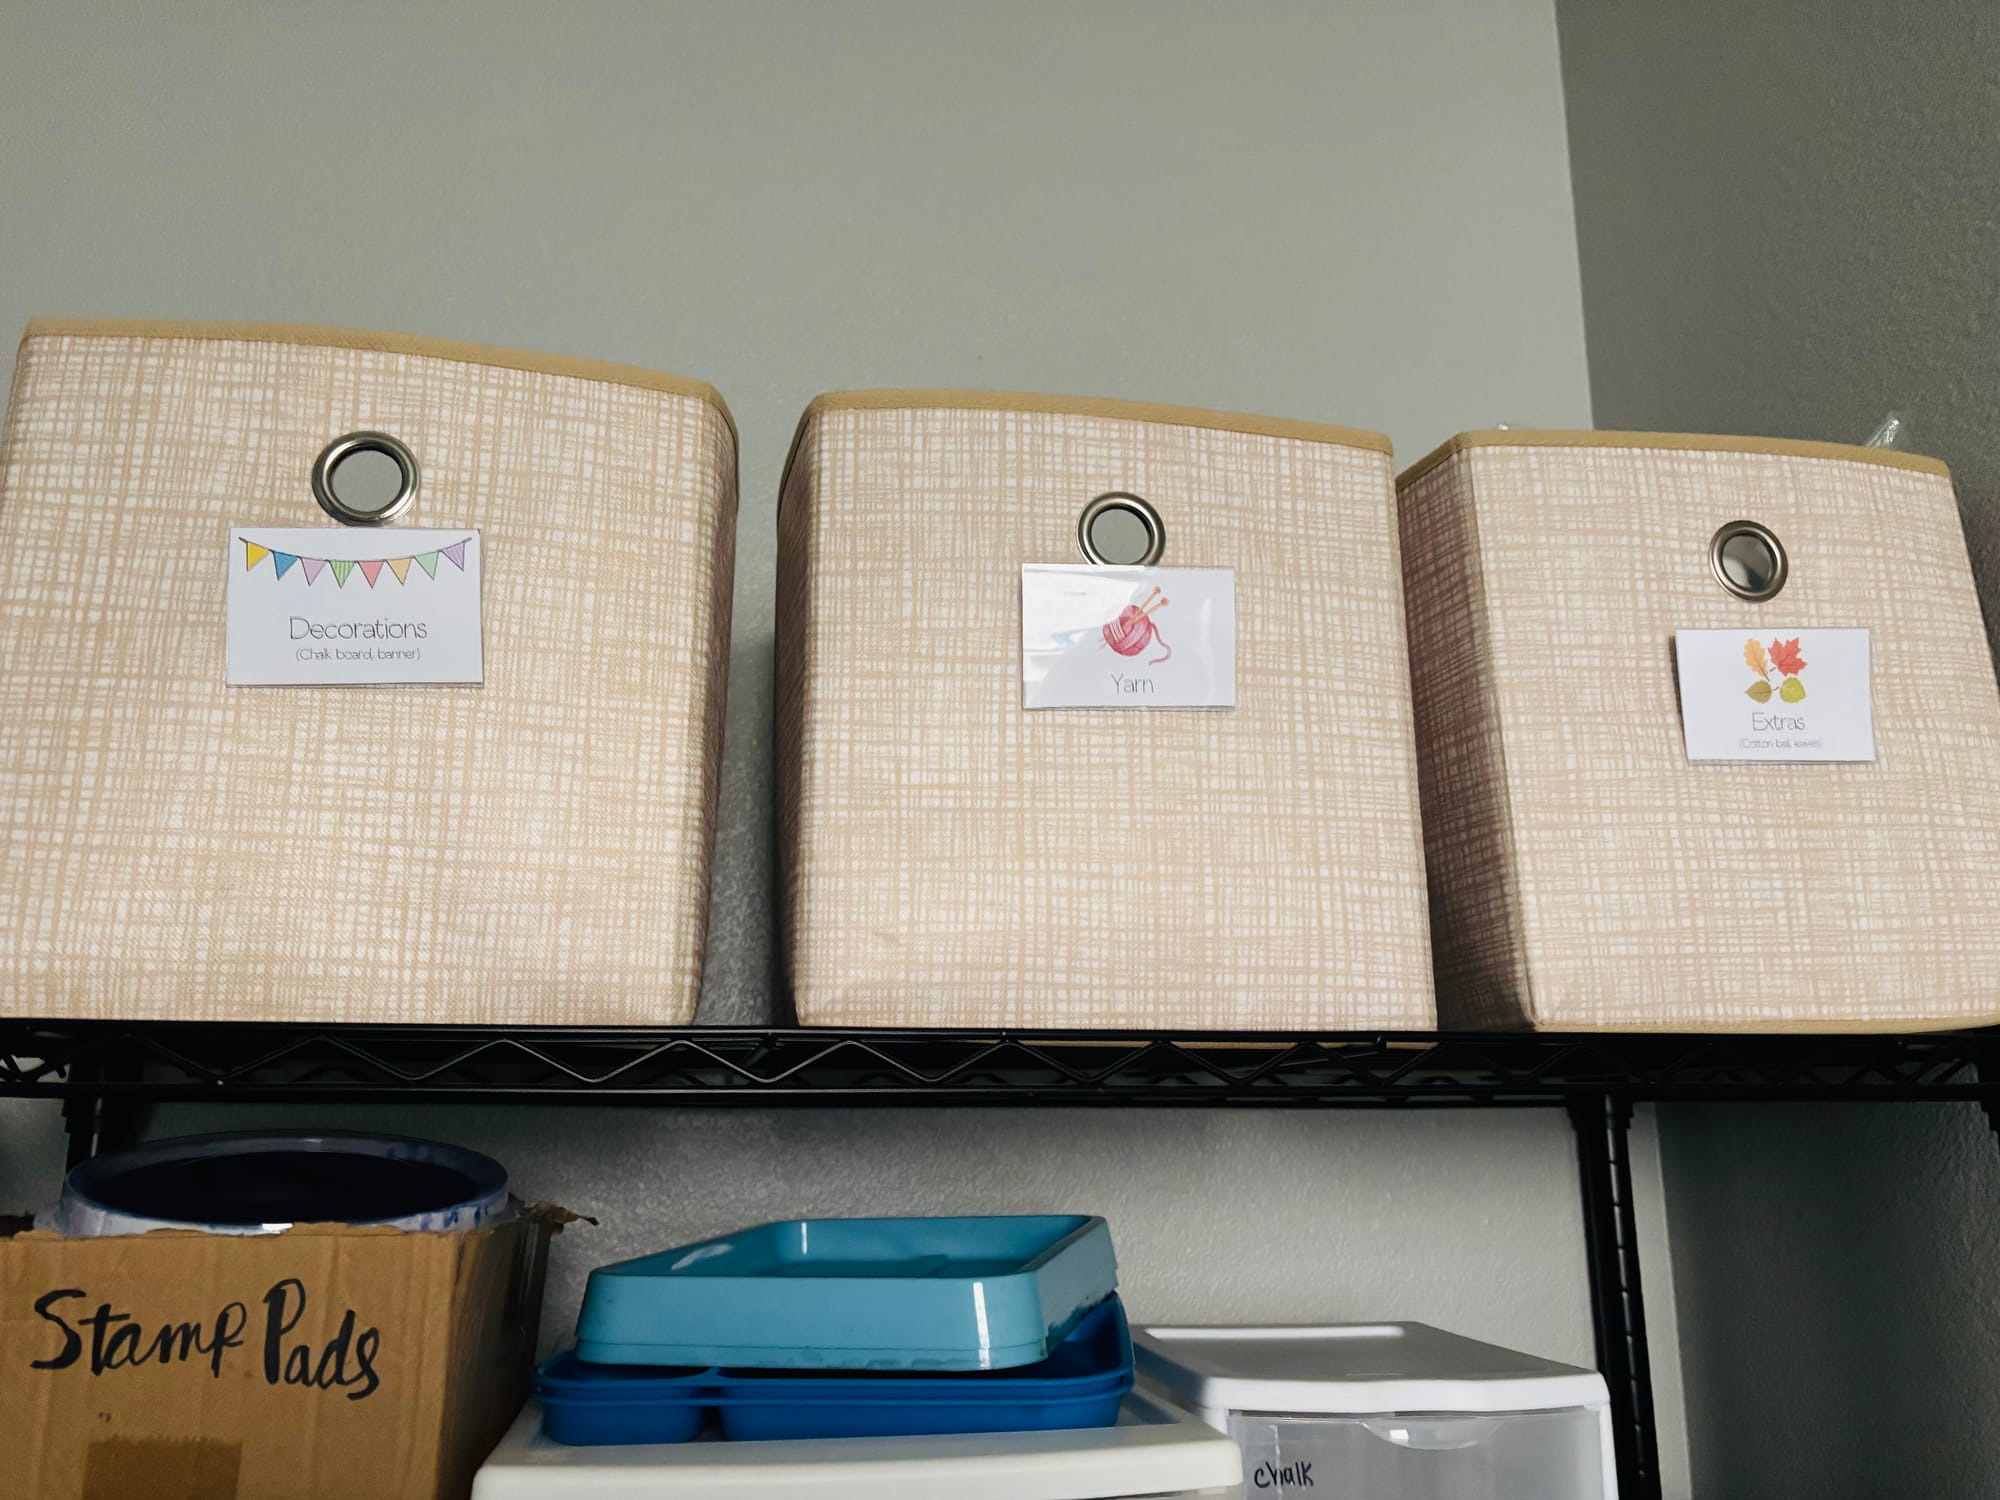
Our leftover bins from upstairs are currently being used to hold odds and ends: yarn, school decoration banners, and cotton balls.
As more school supplies begin to arrive in anticipation for the new homeschool year, I will have to reassess the space. However at the moment I am satisfied with the progress and love easily accessing our supplies as we need - especially the lower shelf for the girls who can now retrieve what they want.
TIP
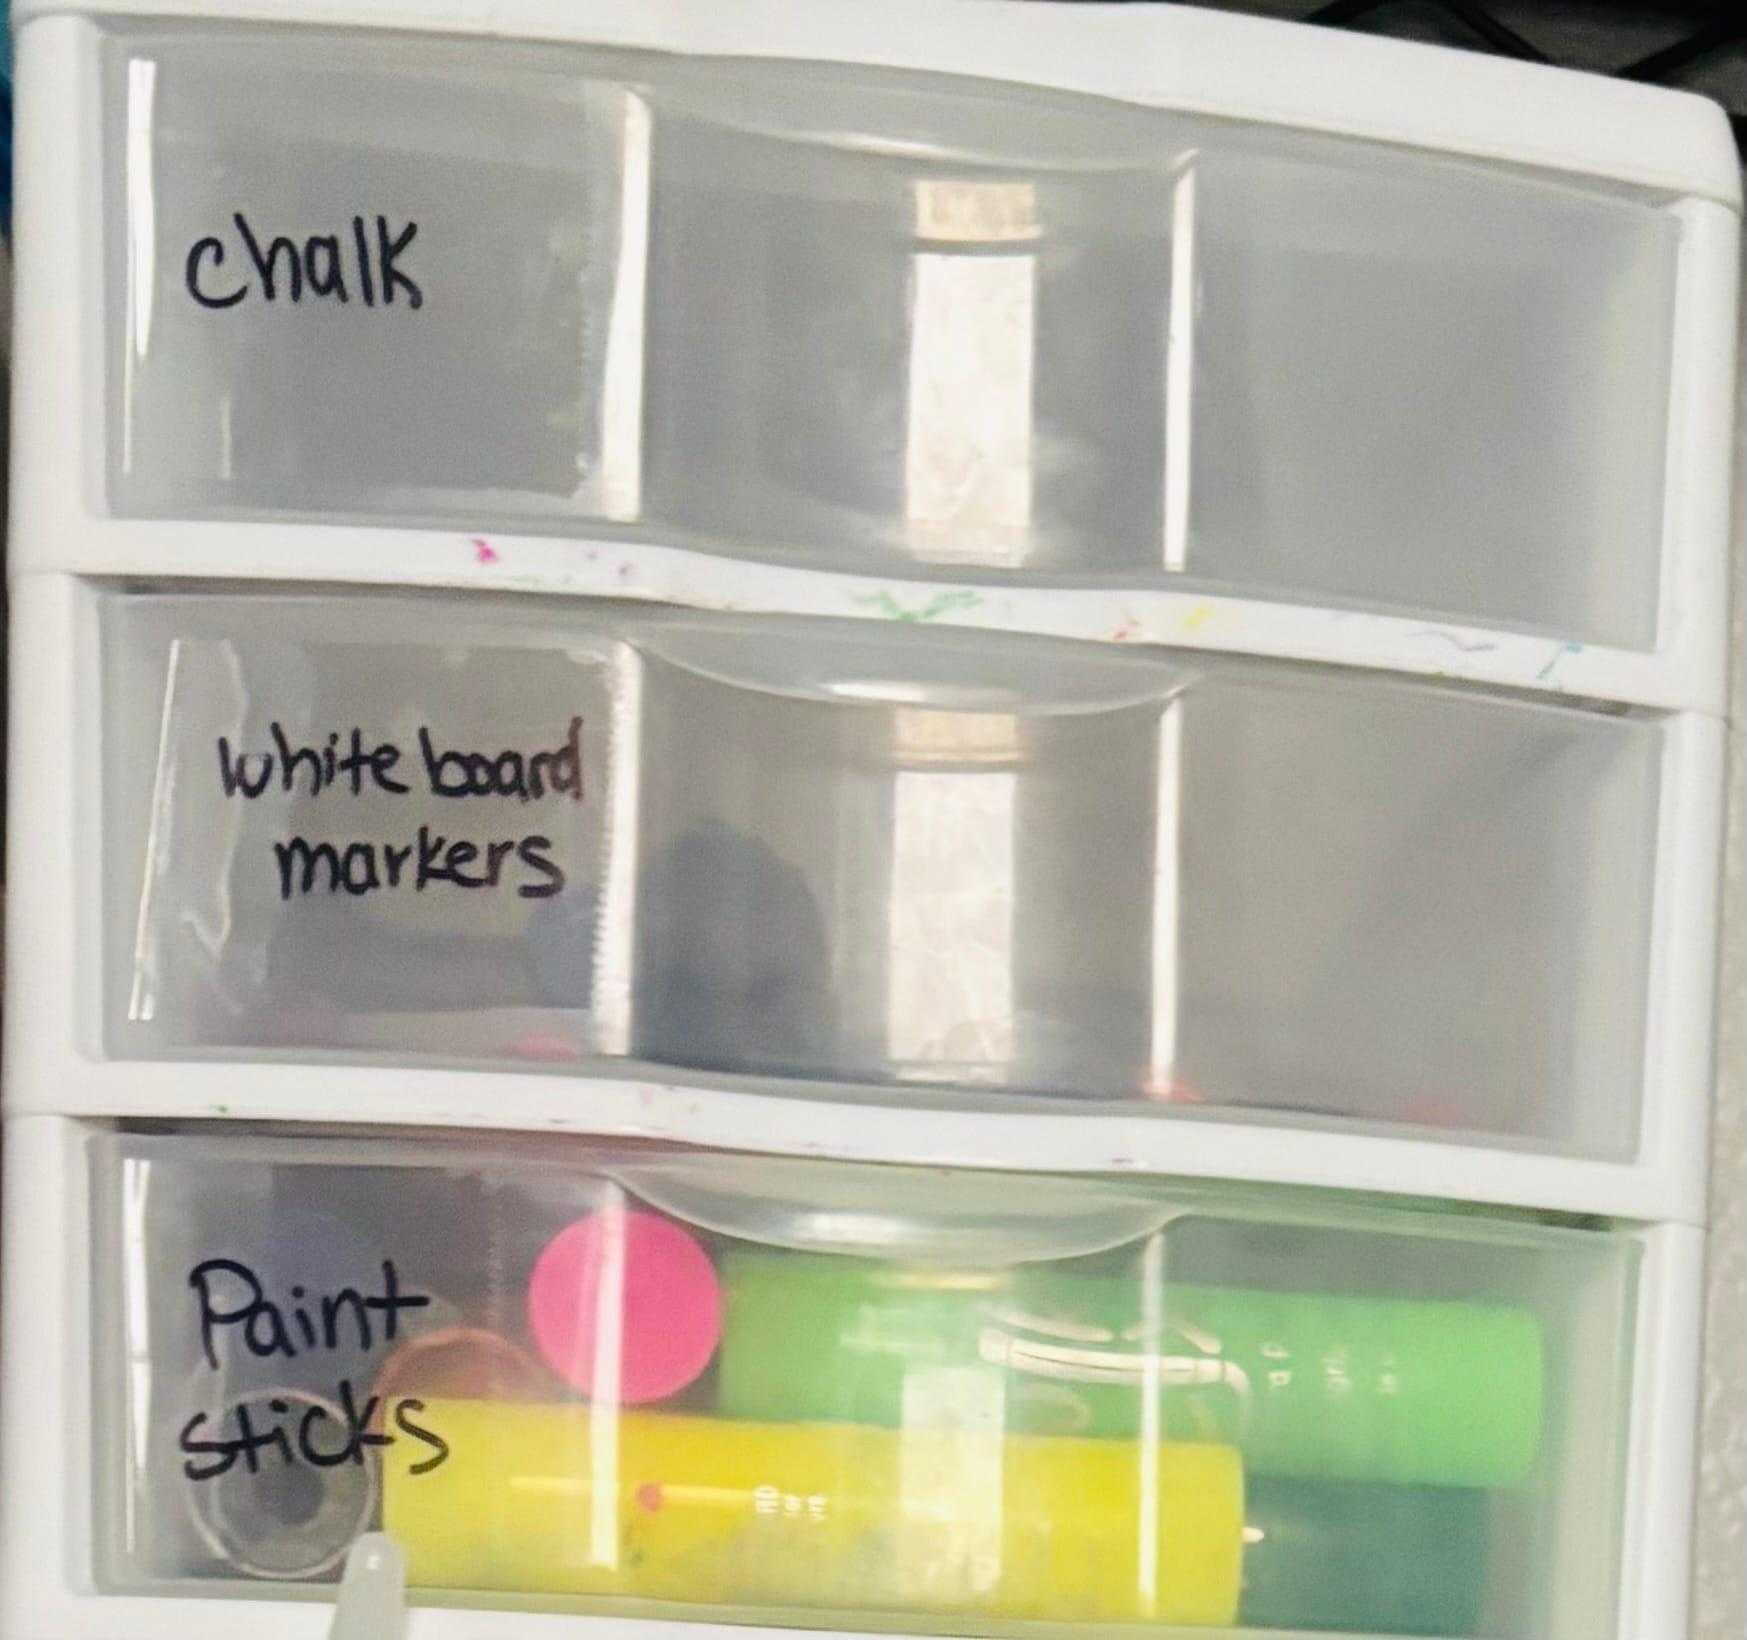
*To create easy labels, I wrote on clear packing tape with a black sharpie. This time I decided to fold one end of the tape to make a tab. This makes it easier to remove the "label" if you need to change it. To write more legibly, I first placed the tape on top of the dryer. After writing, I easily removed the label using the tab and placed it where it needed to go.